Faucer washer replacement
Simple washer change needed for my upstairs bathroom faucet, but worth a post since I learned a couple things.
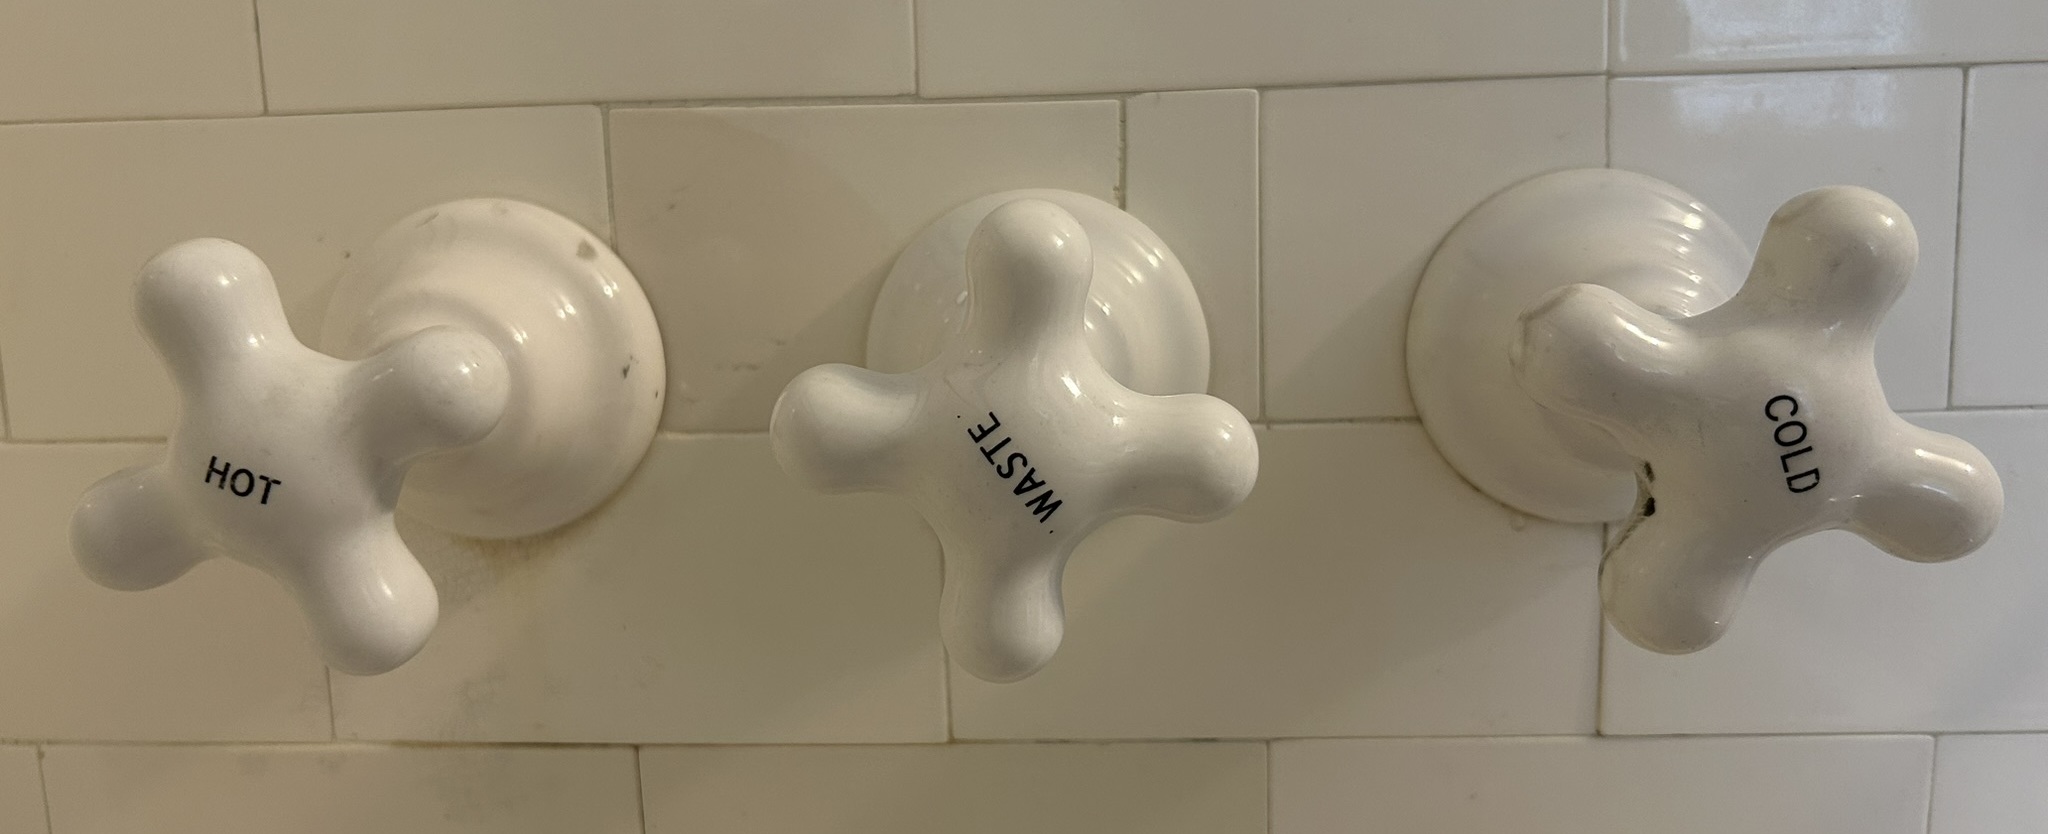
Problem #1: Hot water would not turn off
I’m not sure what my kid did, but he yelled for help as he constantly turned the hot water faucet clockwise but the water would not stop flowing. I tried to quickly trace a water line from our water heater to somewhere near the bathroom but couldn’t find a shut off, so I shut off the main water to the whole house. Then I unscrewed the faucet and stem by turning it counter-clockwise. The whole stem came out and I saw there was no washer left on the end of the stem.
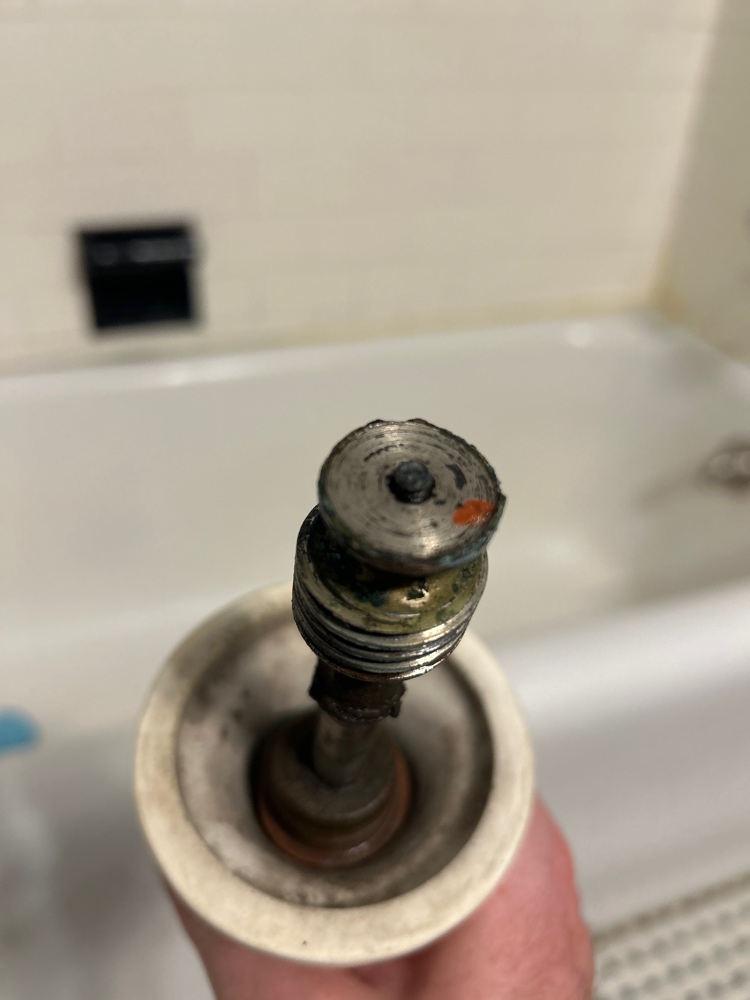
In retrospect, the fact that I didn’t have to use a wrench at all, and simply turning the faucet counter-clockwise removed the entire stem assembly, probably means the stem body threads were loose or altogether unscrewed after being loose for a while.
Also, I found the half-disintegrated washer stuck in the pipe in the wall. I don’t know what to call that “pipe”, but Gemini suggests I called it the the faucet body, or fixture body.
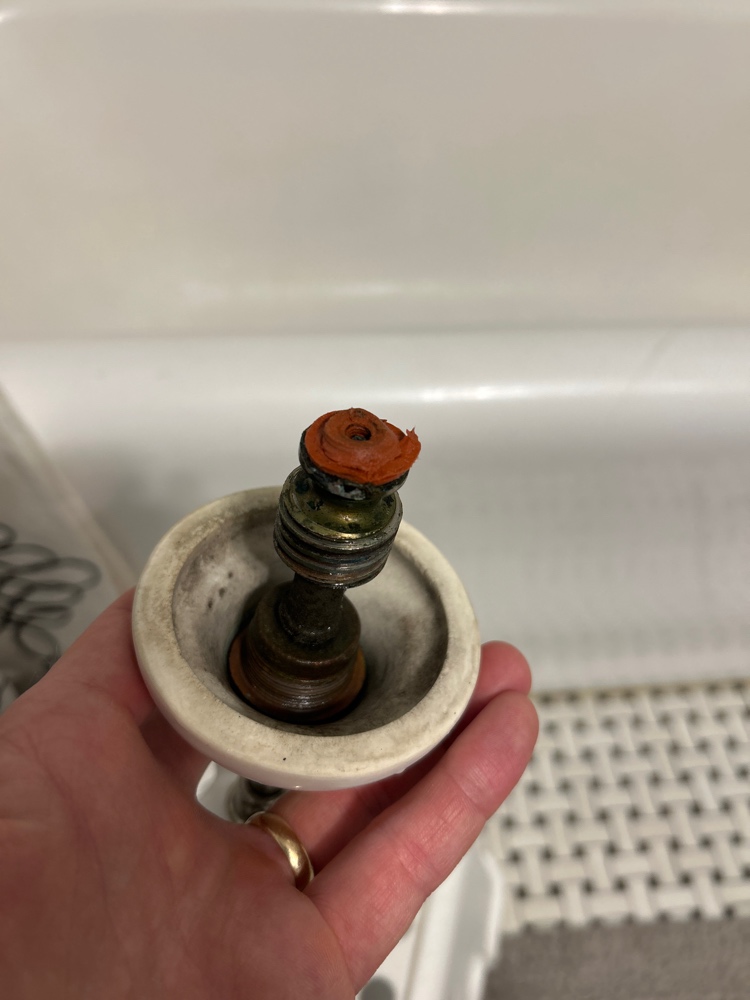
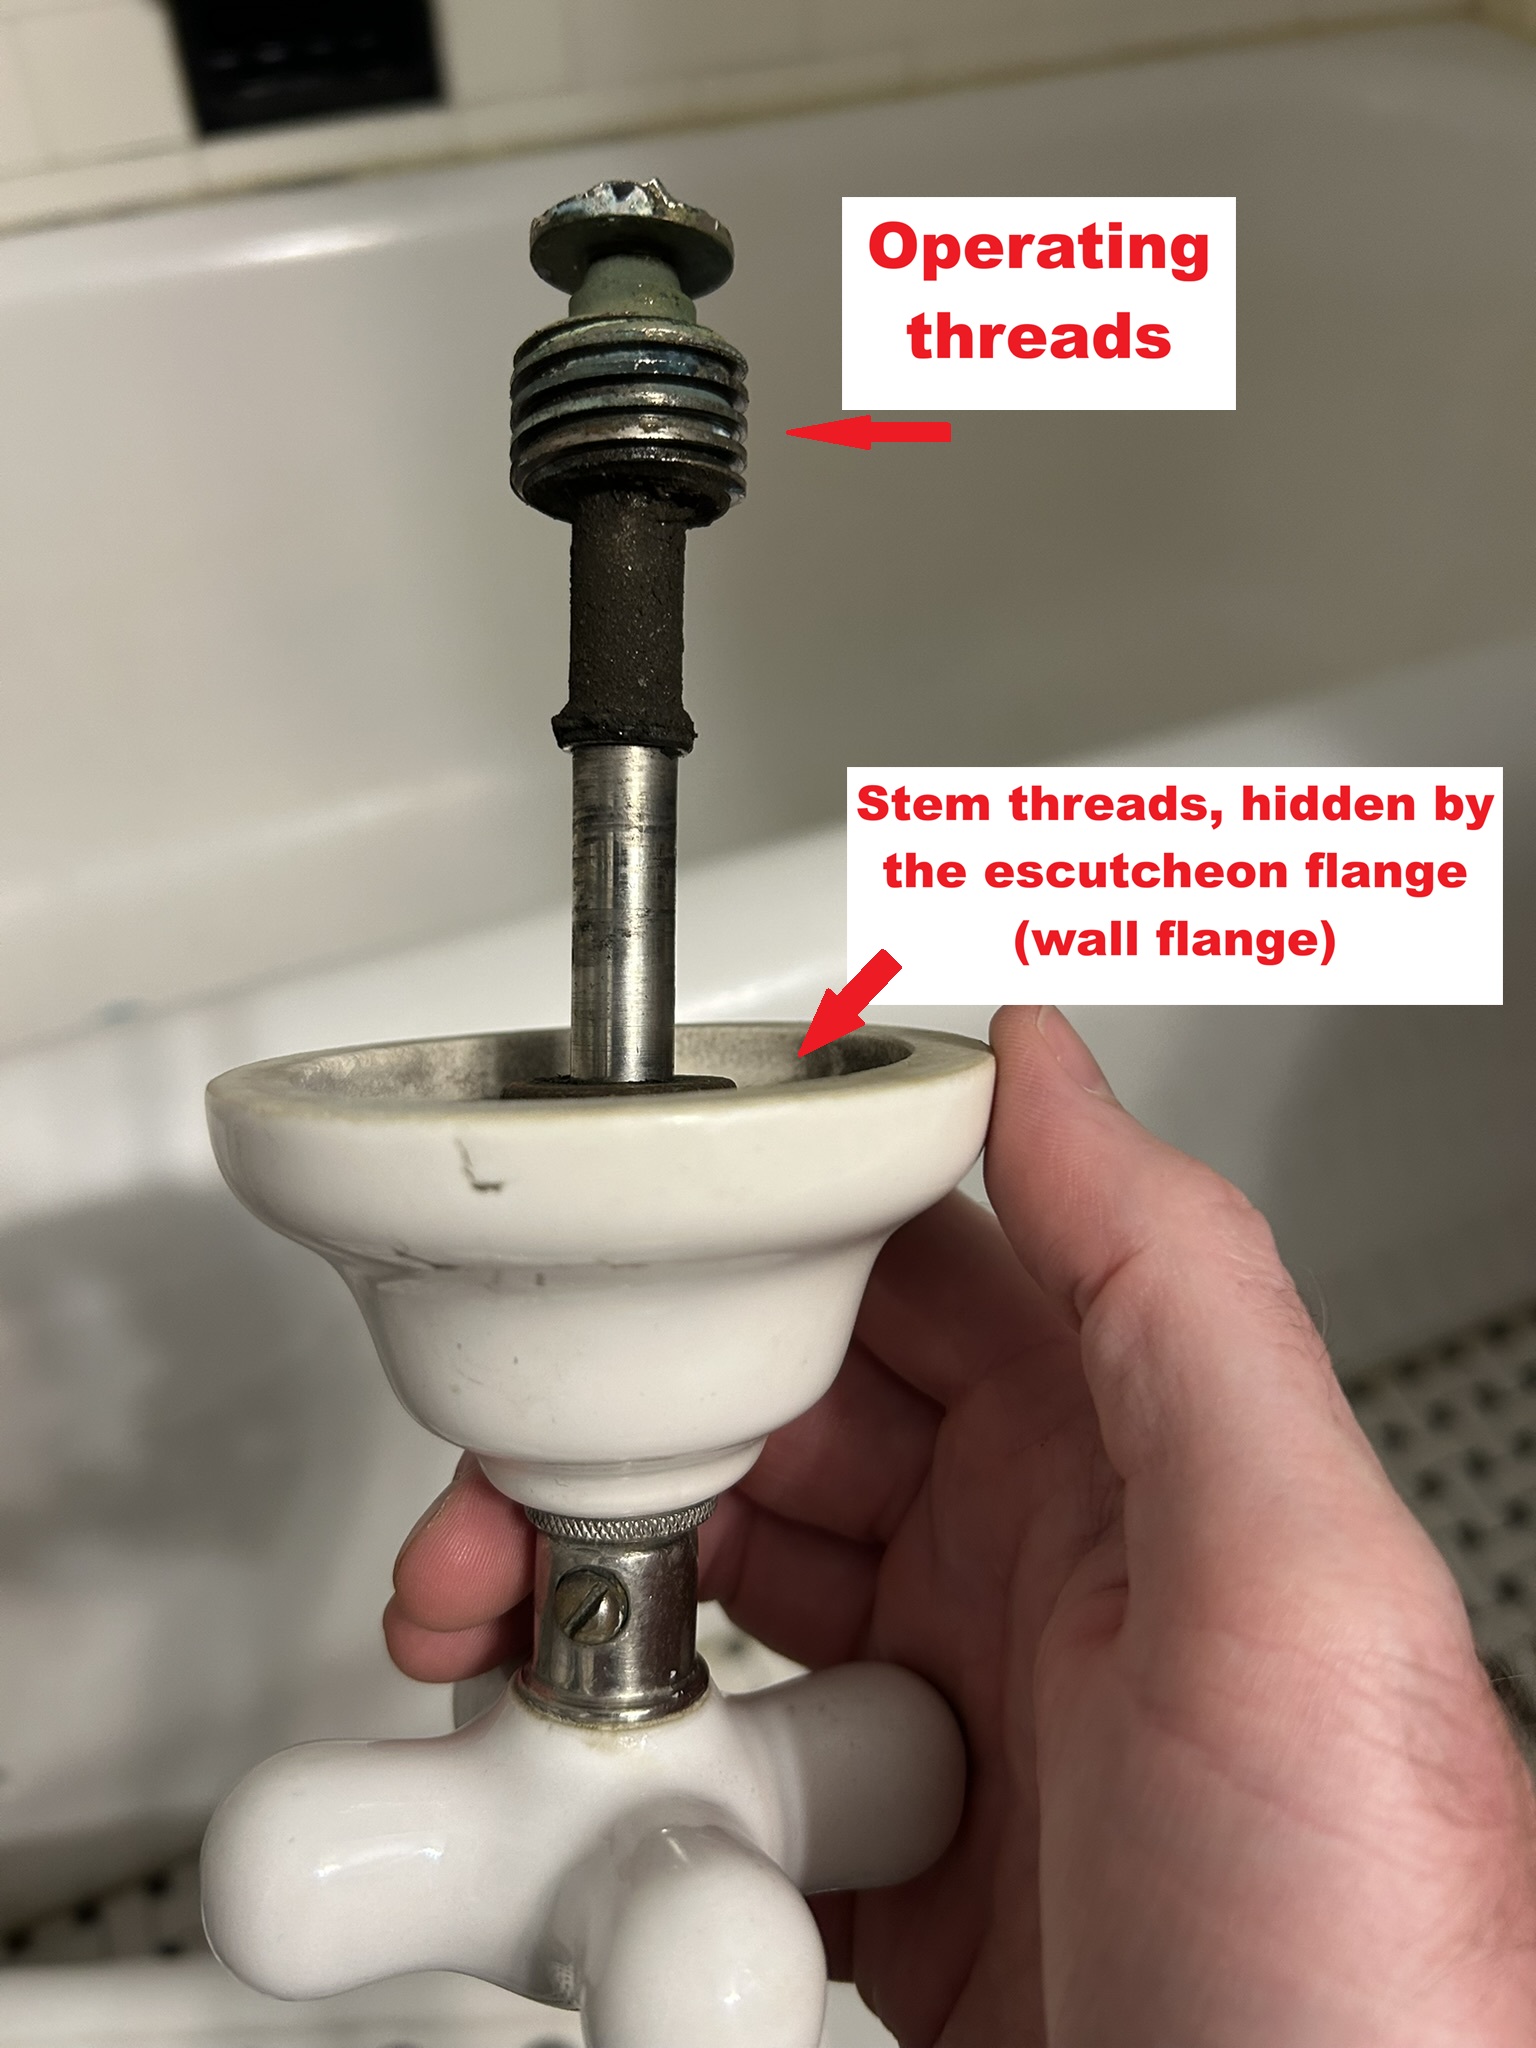
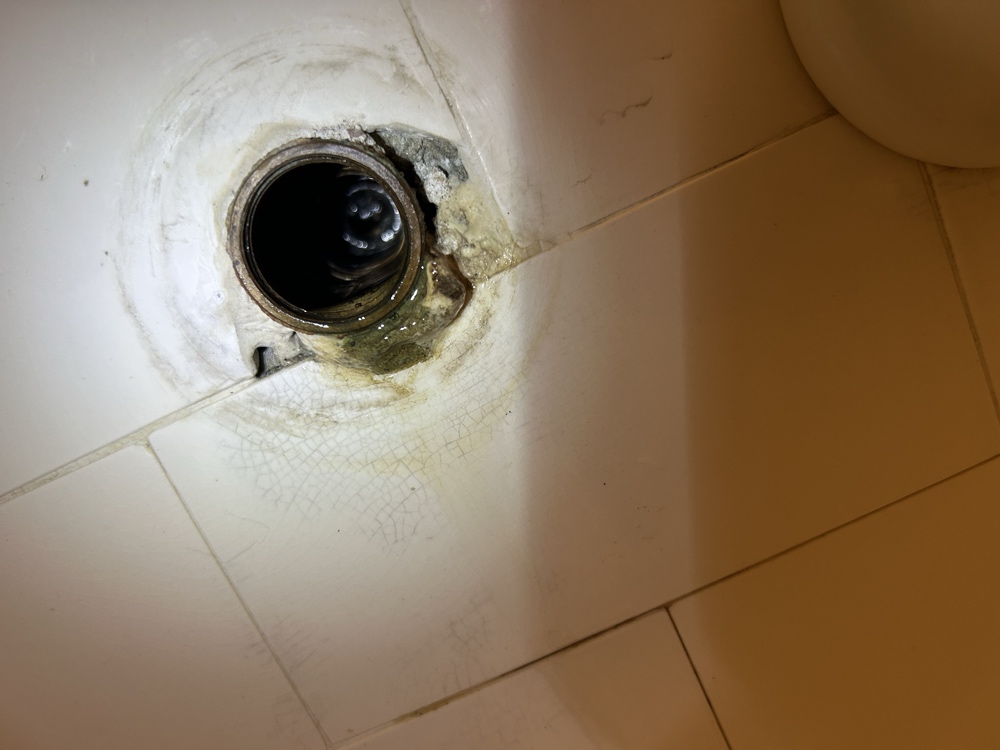
At this point I thought it would be a simple replacement of that rubber washer.
Problem #2: A Sheared Brass Stub
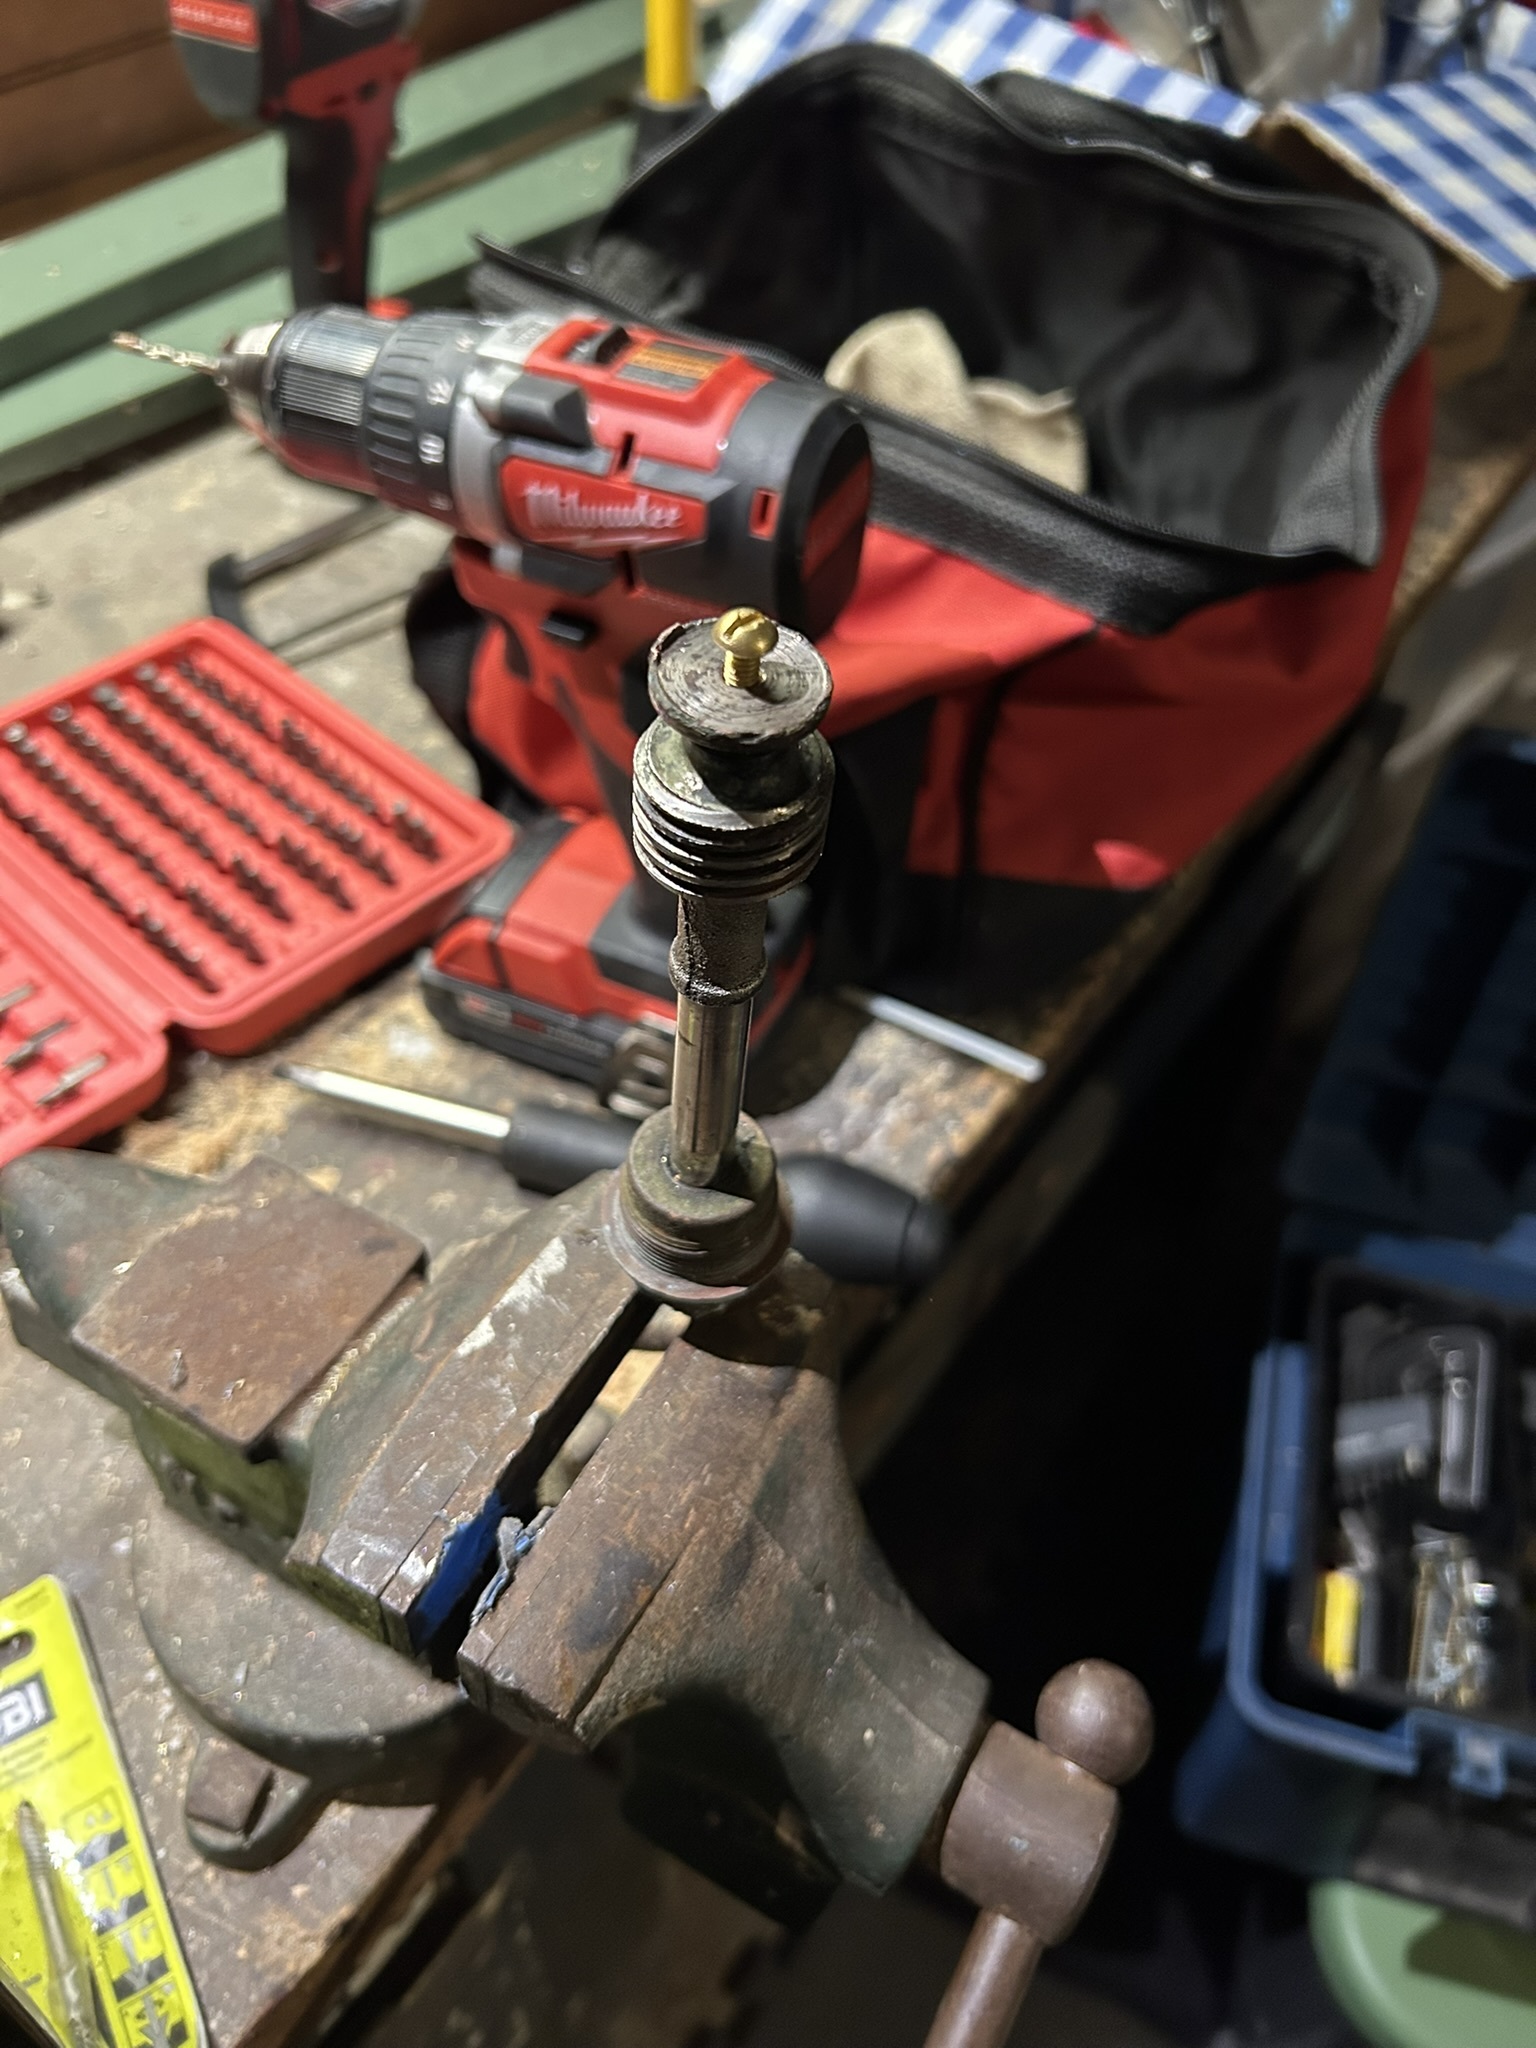
Look closely at the photo of the stem with no washer: the head of the brass bibb screw holding the old rubber washer had completely sheared off. How am I supposed to replace that washer when there’s no screw to hold it down? There was only a tiny stub of the old screw left in there, but no way to grip it to screw it out.
Trial, Error, and Crumbling Brass
My first instinct was to grip the stub with pliers — no luck. So I sprayed WD-40 around that stub and went to bed, hoping it would loosen the headless screw overnight and the pliers would work in the morning - still, no luck.
I clamped the stem into a vise and bought mini hacksaw with a blade with 24 TPI (teeth per inch), intending to cut a clean slot across the stub face to back it out with a flathead screwdriver. I have no picture of this, but unfortunately, 100-year-old brass is deceptively soft. As soon as I applied counterclockwise pressure with the screwdriver, the notched brass simply crumbled apart, leaving me with a tiny, rounded nub and no surface left to grip.
The Precision Drilling Operation
With no material left to grab, drilling was the only option left. Because both the screw stub and the surrounding stem body were made of soft brass, any drill bit drift would instantly ruin the internal threads. The drill would have to perfectly be aligned. I kind of eye-balled it and got lucky.
I started with a tiny pilot bit, keeping the drill perfectly perpendicular to the face.
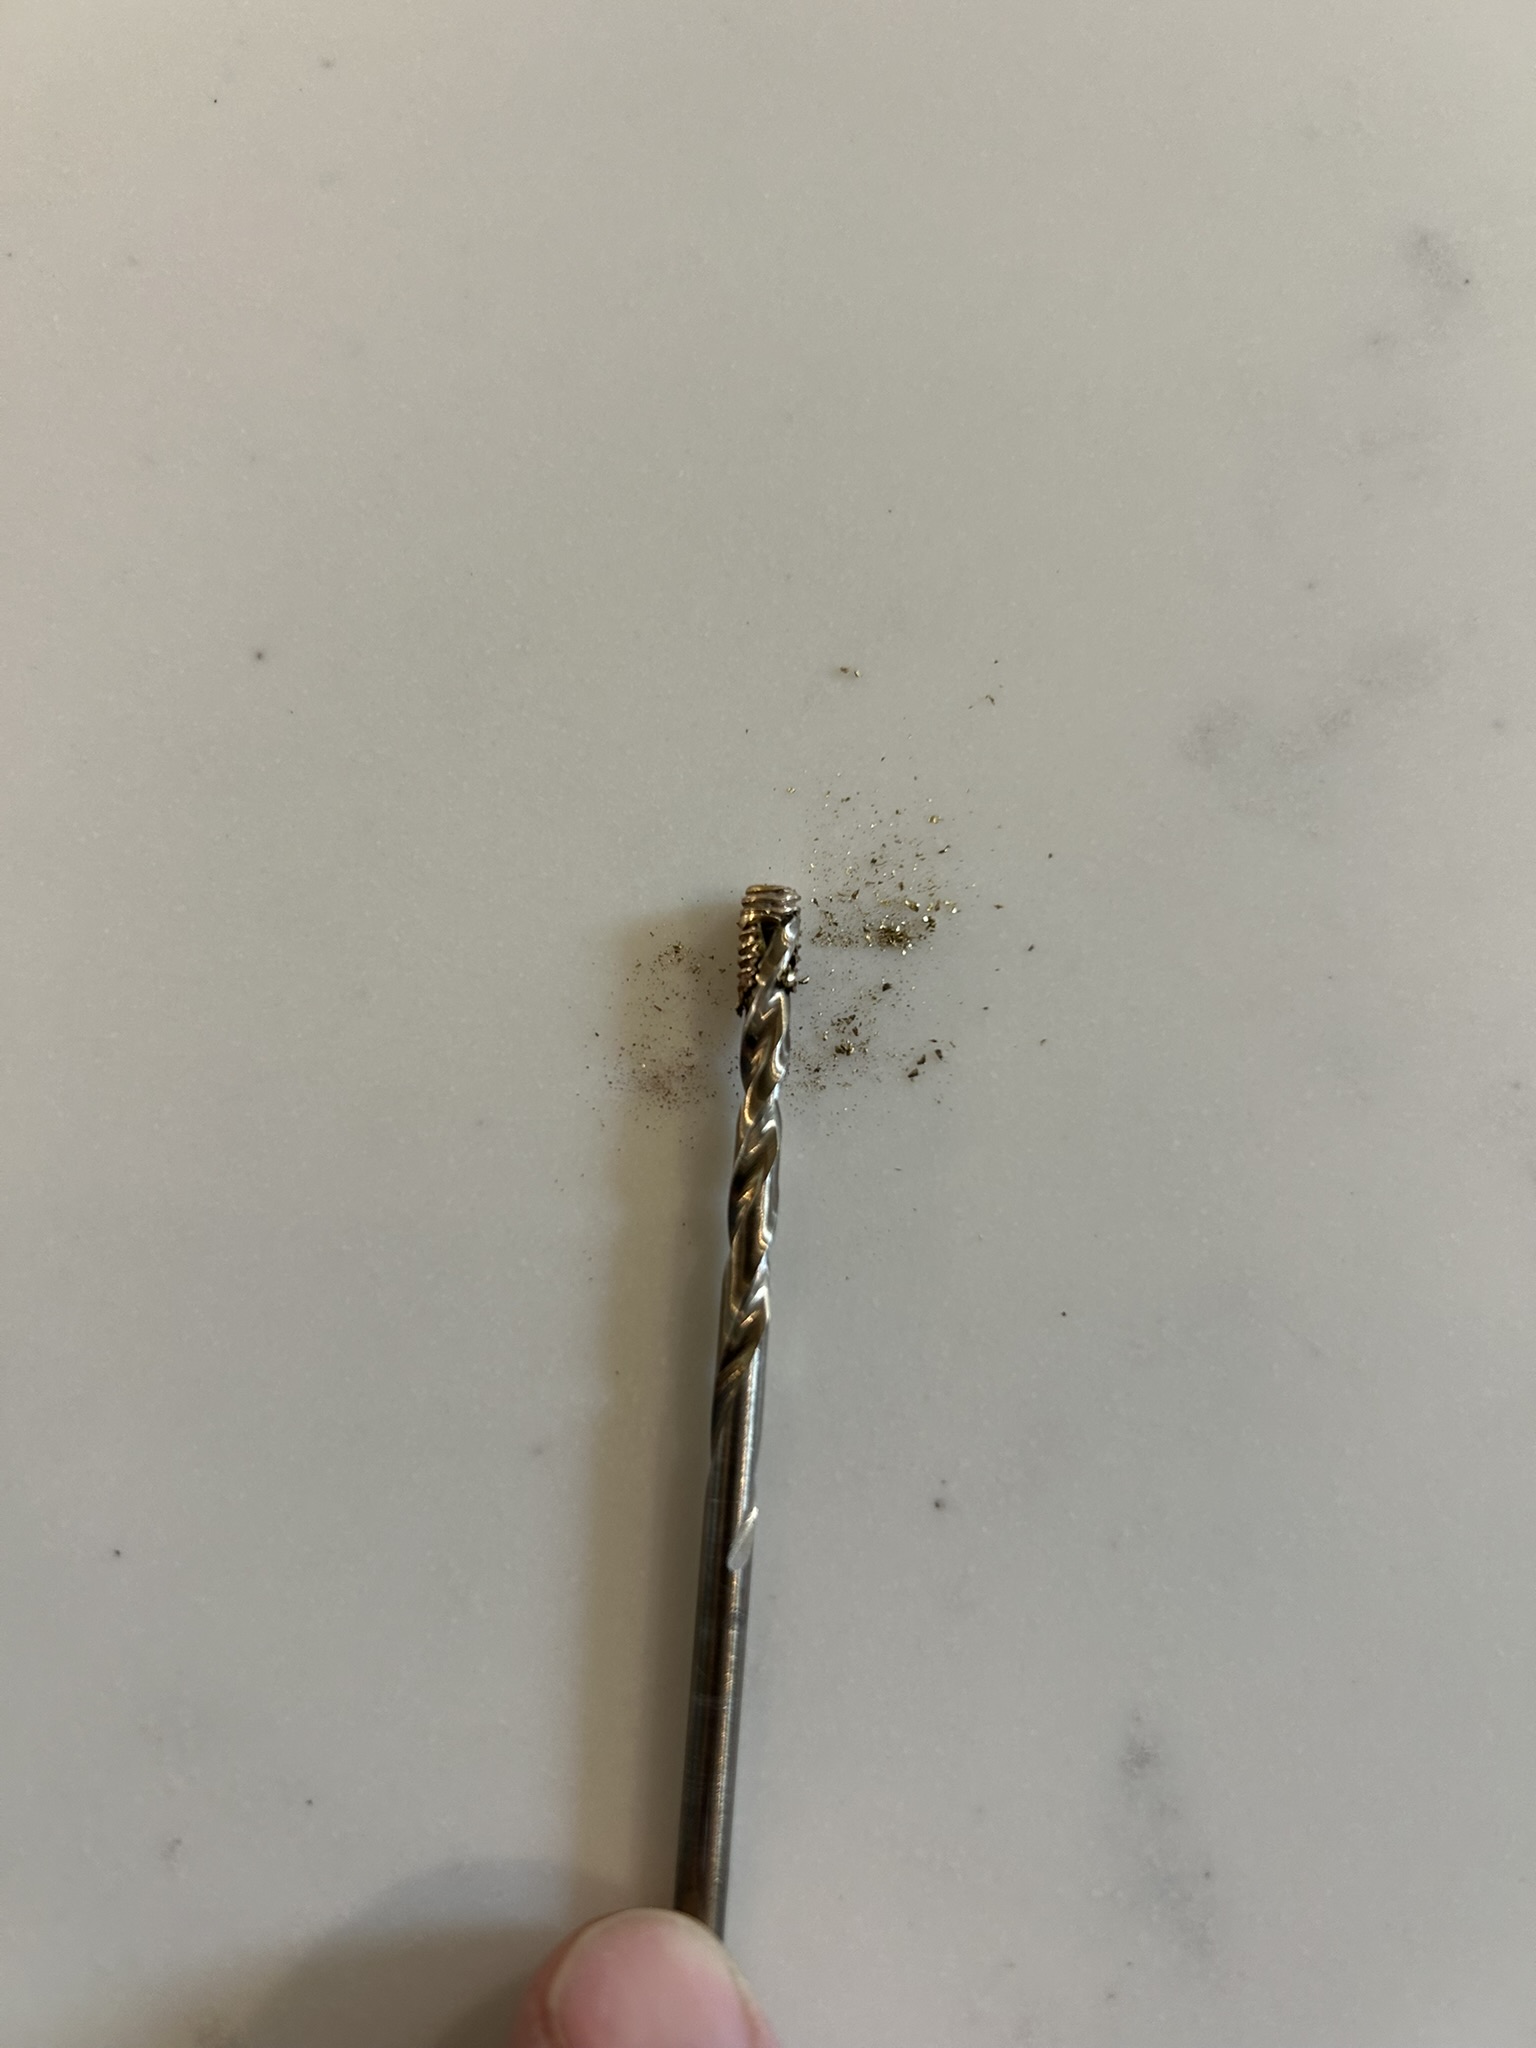
In the photo below, the pilot hole is drilled and you can see the first drill bit was thinner than the screw itself. I took this picture with my bibb screws in hand because I uploaded it to Gemini, asking AI which of the two sizes of bibb screw it thought I would be replacing this with.
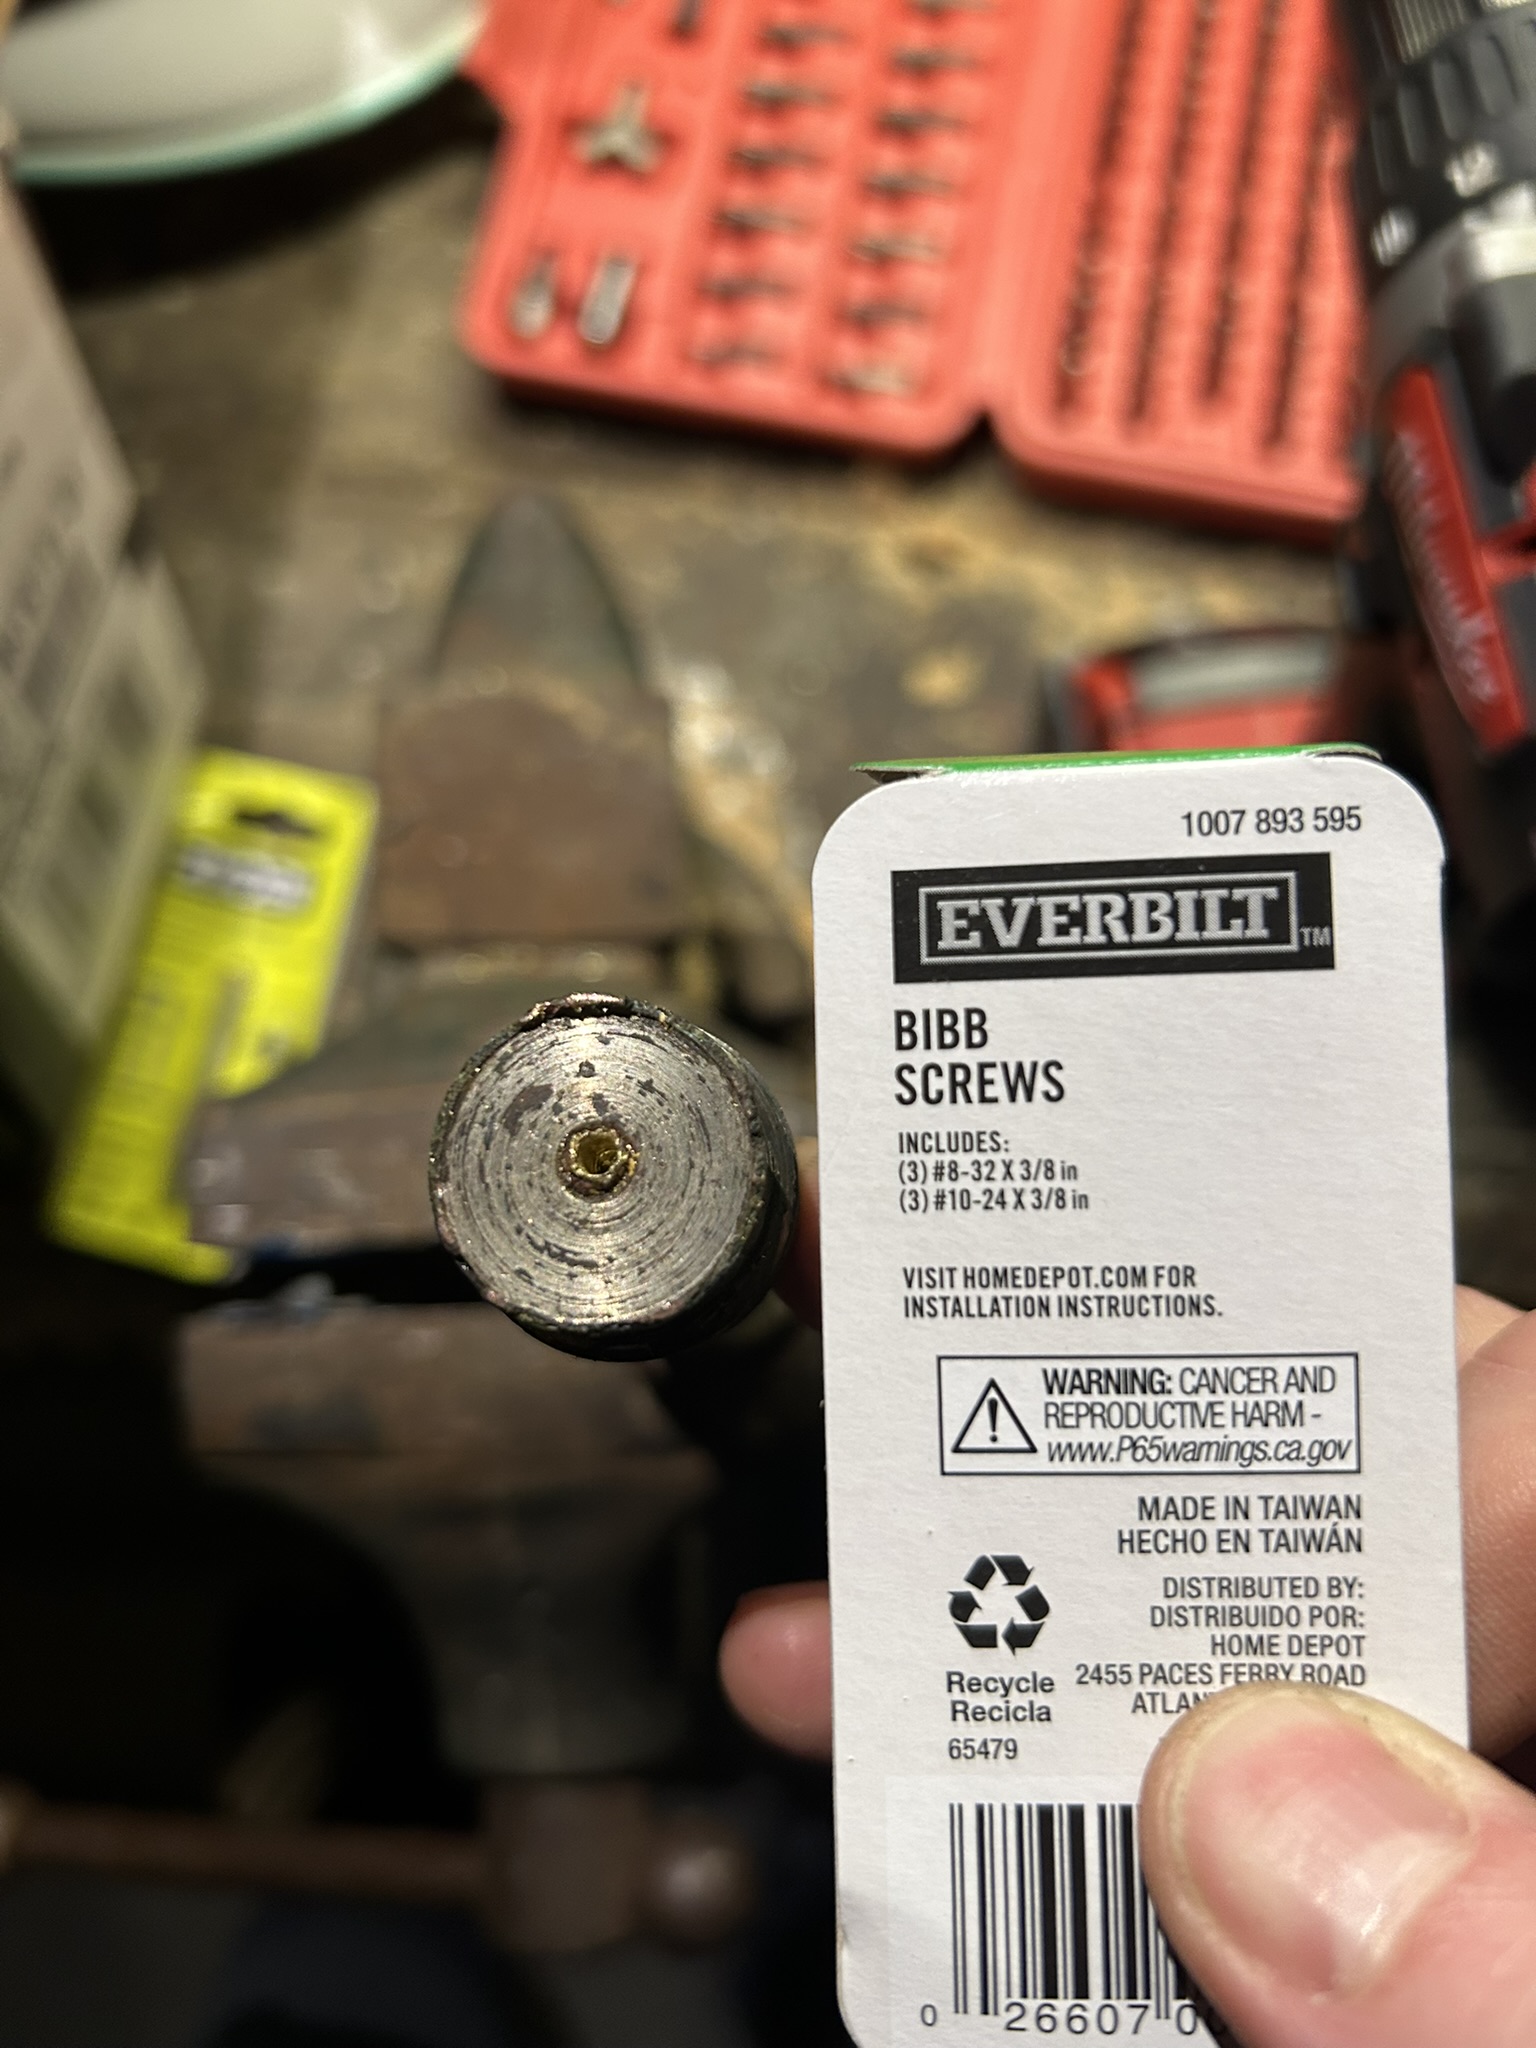
From there, the key was stepping up incrementally without overshooting. I expanded the hole to 1/8”, not quite to 9/64”, which is the exact root diameter for a standard #8 bibb screw. Going slow paid off: I don’t remember if it was the 1/8” or the 9/64” bit, but one of them suddenly made a noise like something loosened. I stopped immediately and pulled out my drill.
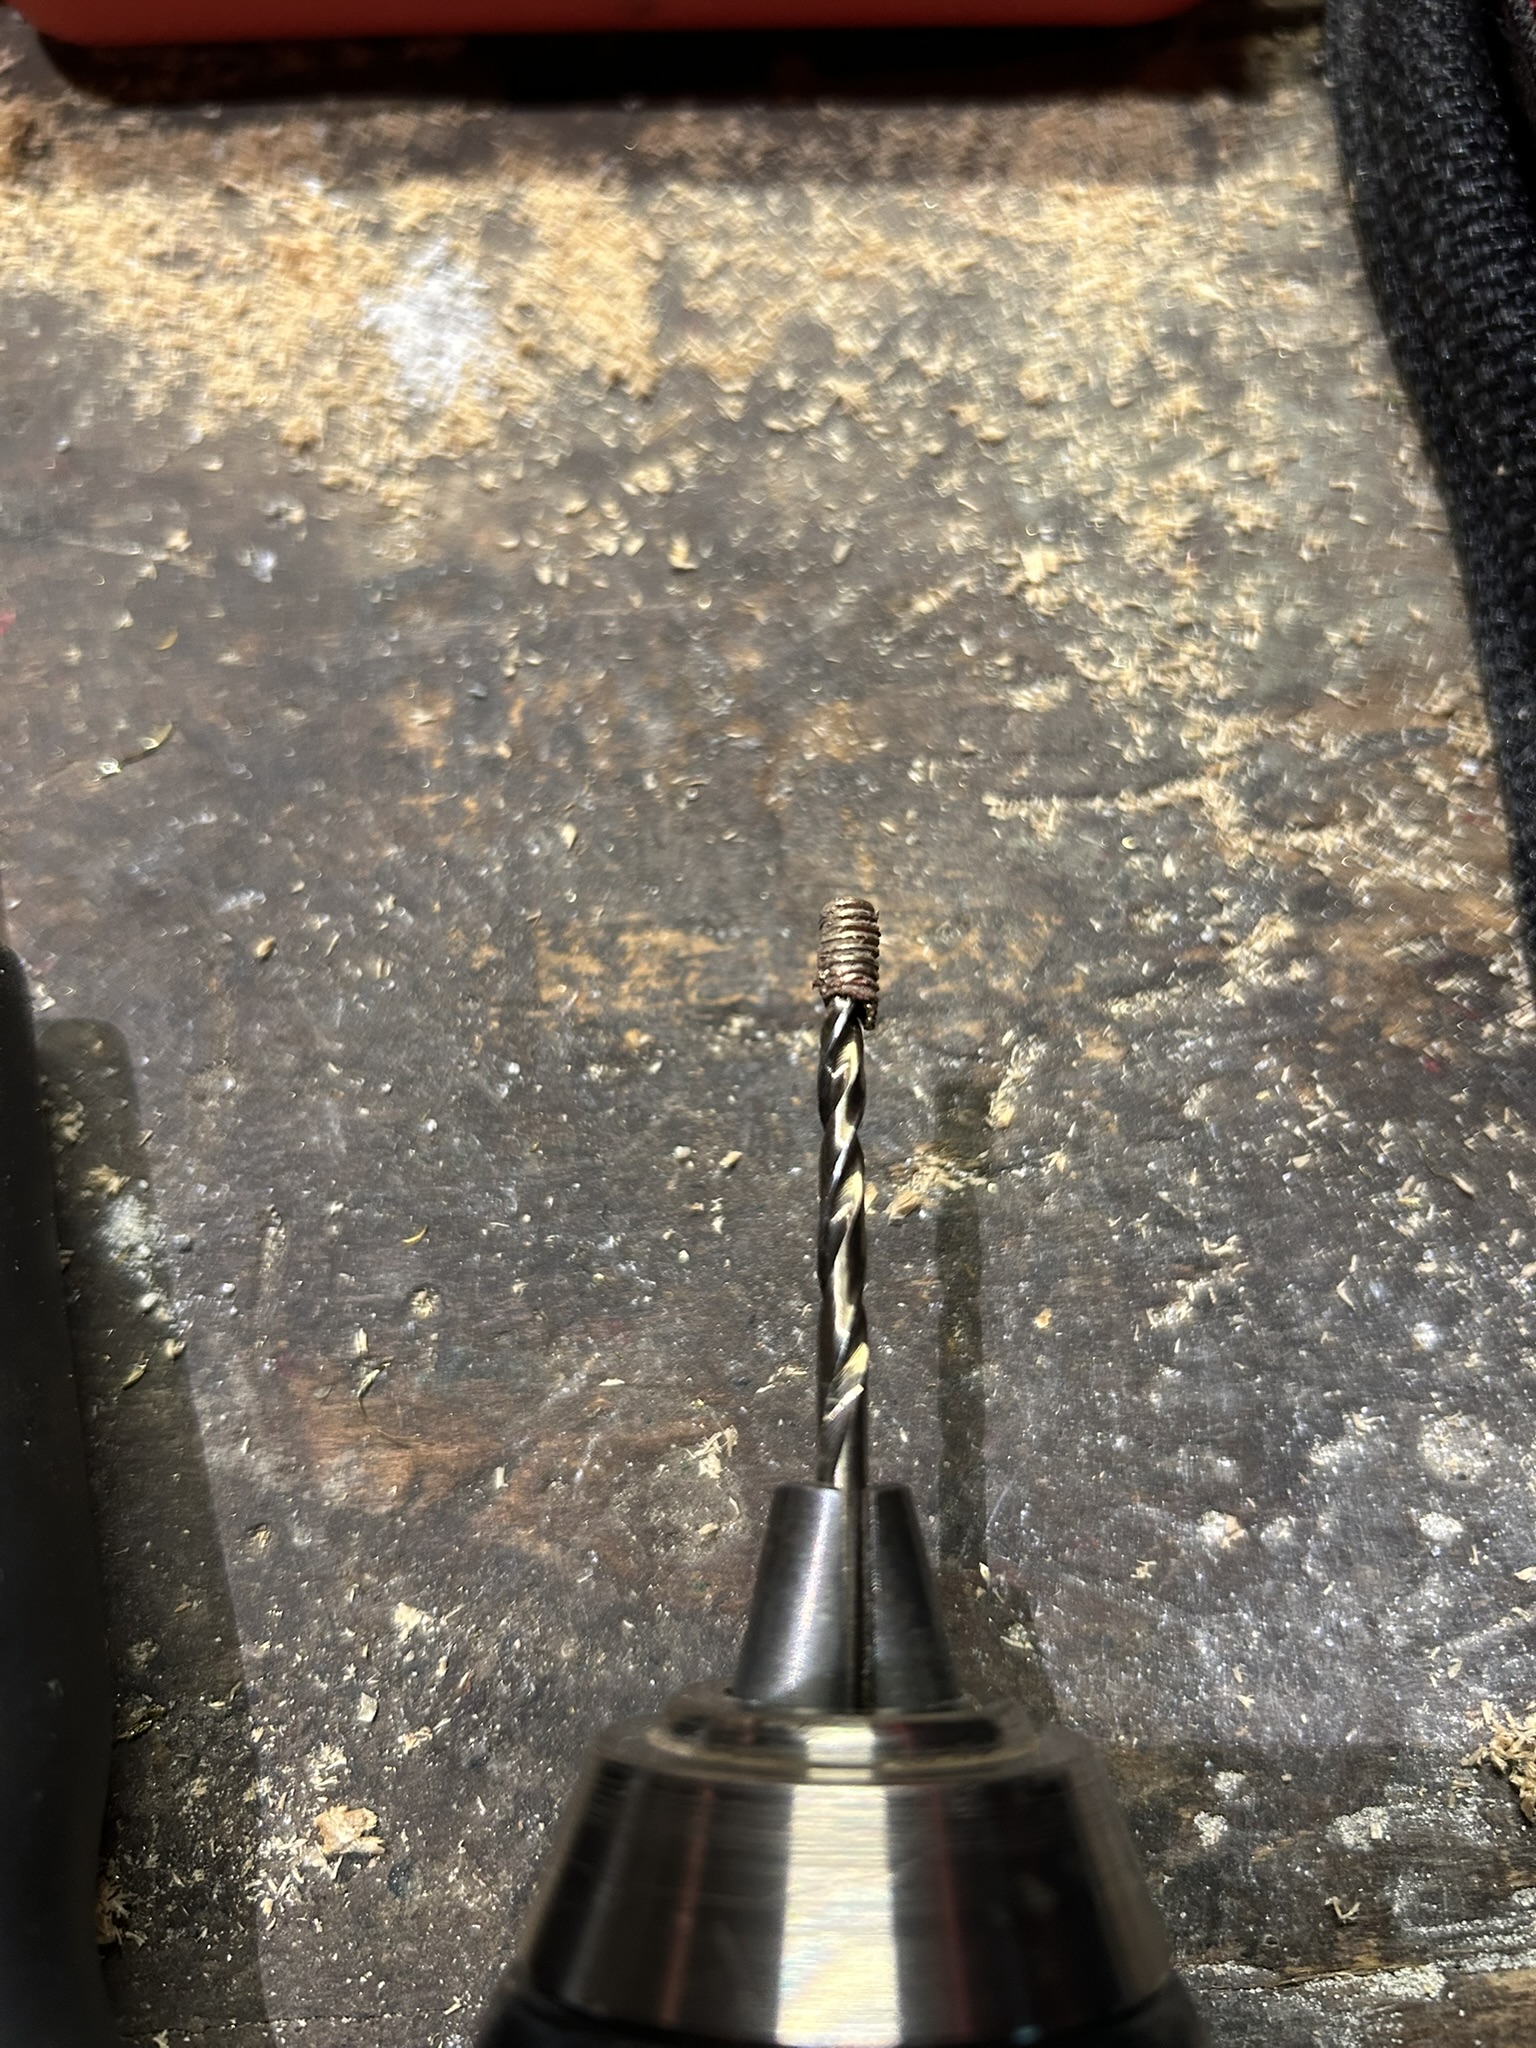
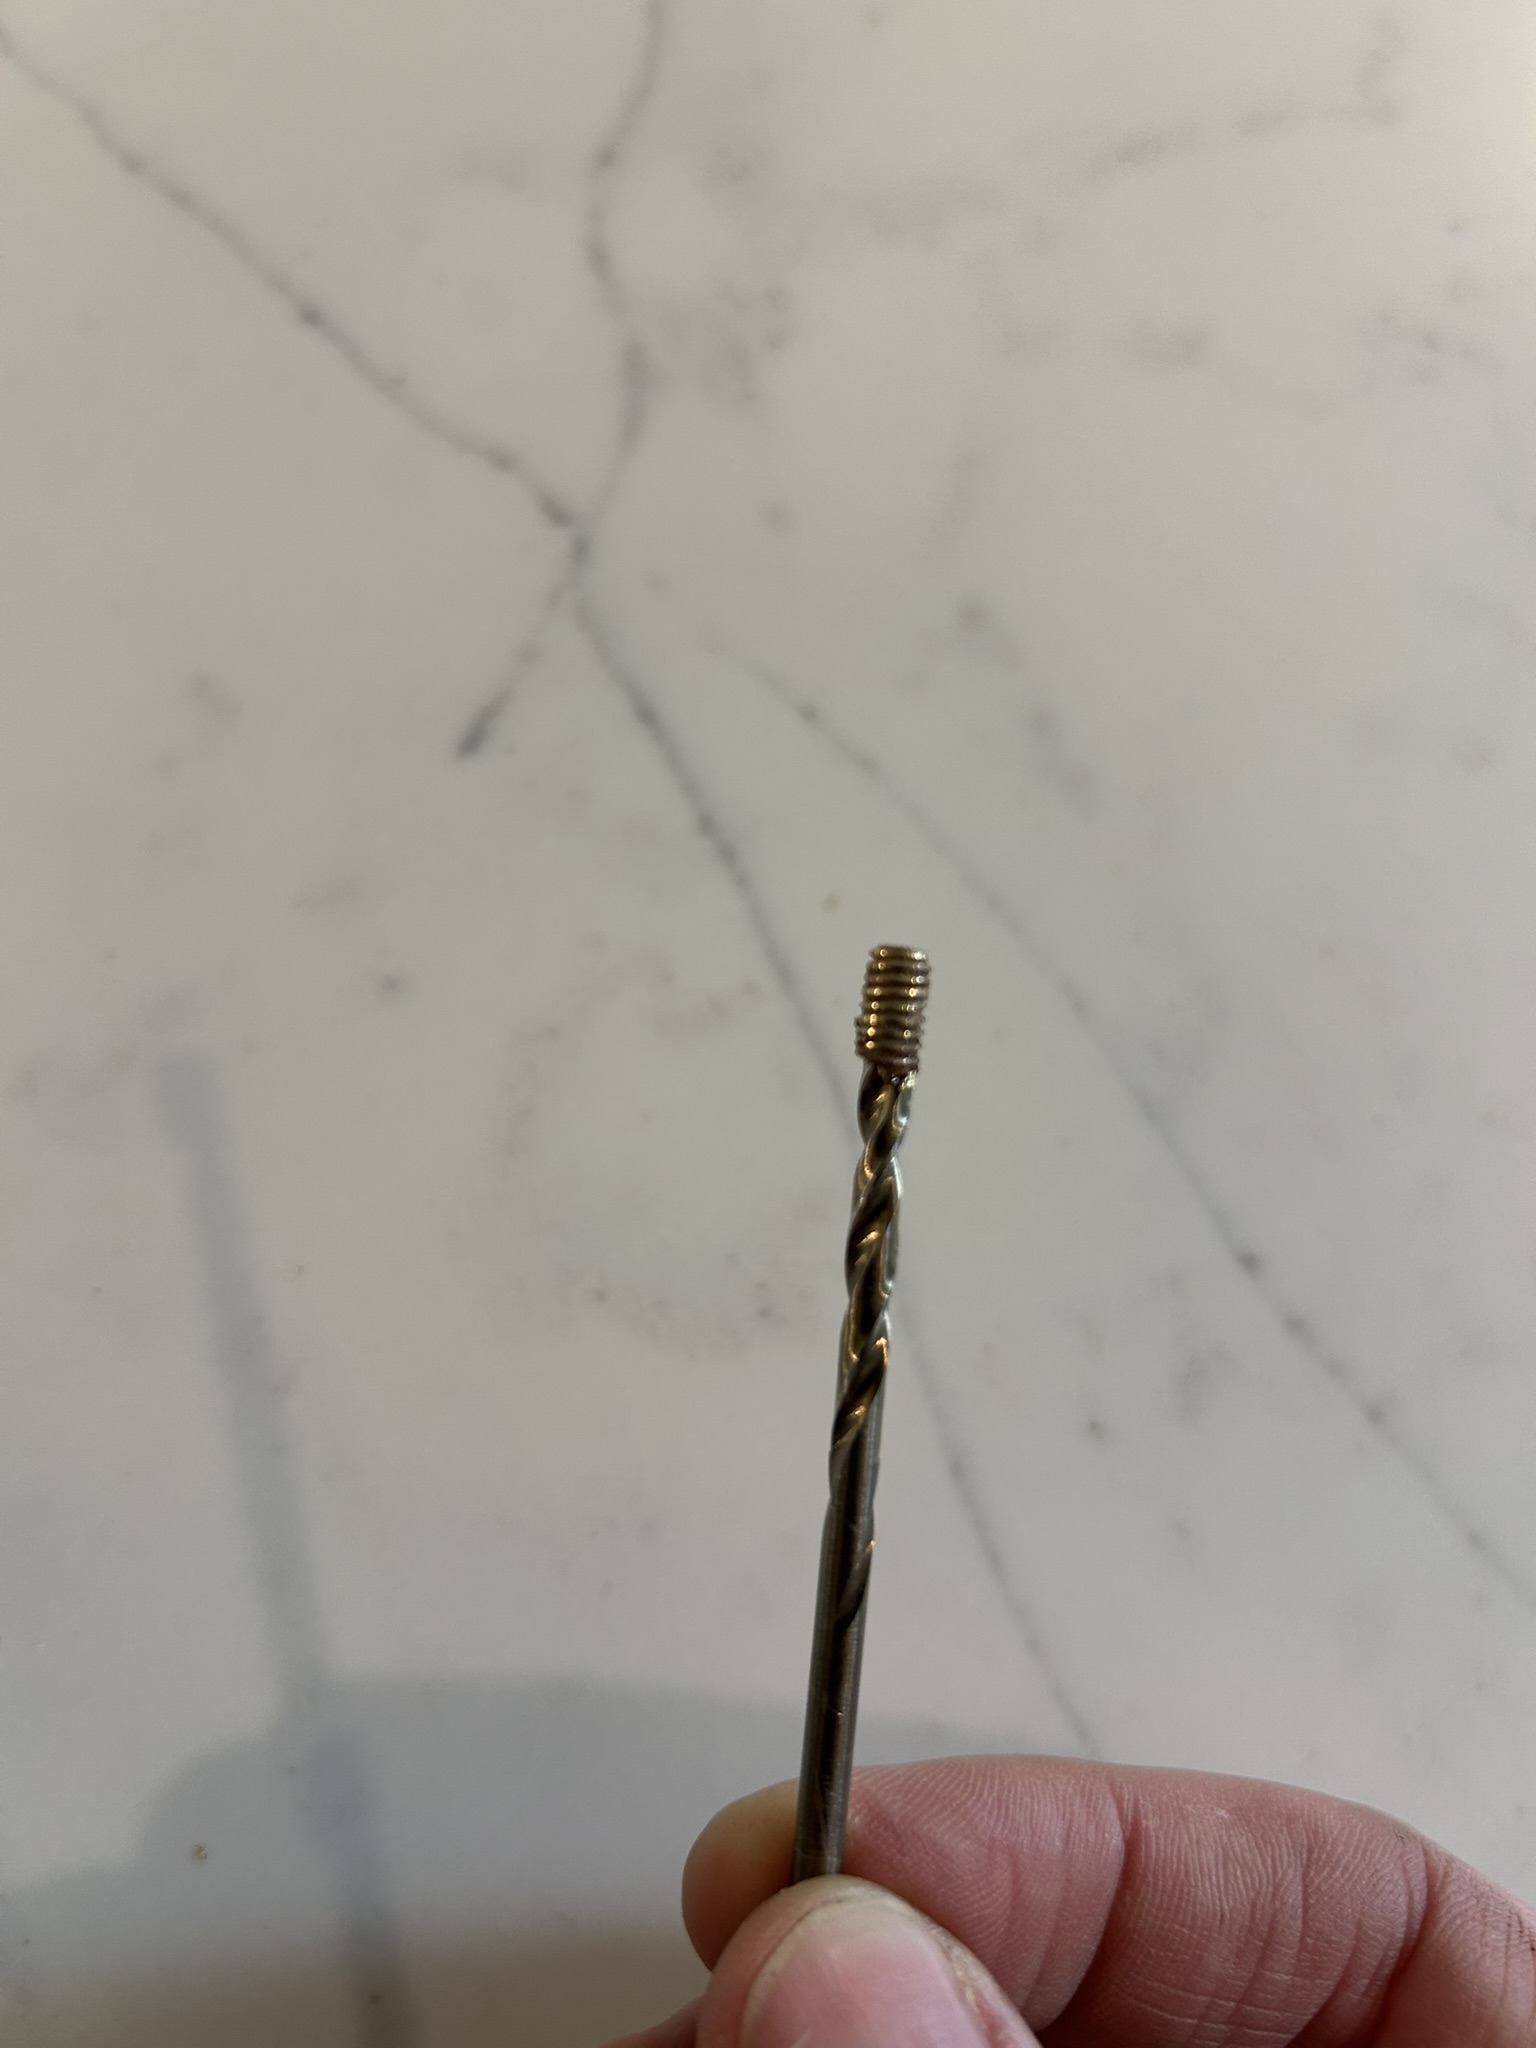
It had hollowed out the screw core, leaving behind a paper-thin spiral shell of old brass threads that peeled right out on the bit tip. Check out the photos!
Washer: 1/2 flat
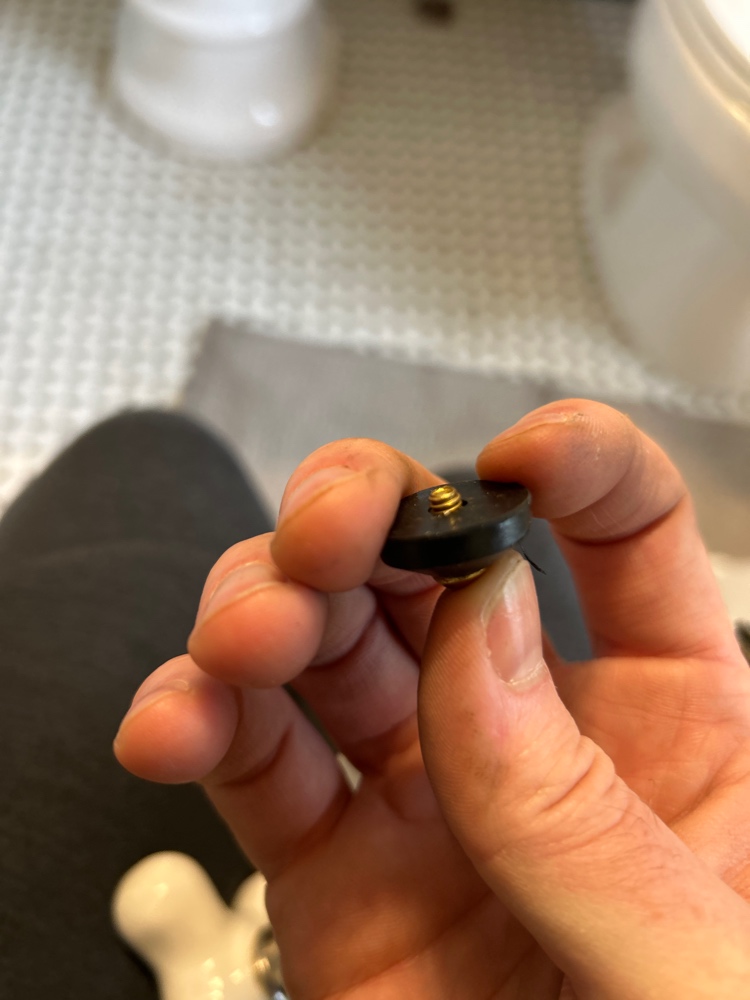
Mostly for the sake of a note so I don’t forget, I used 1/2 inch flat washers (not bevelled) because the screw wasn’t long enough to hold a bevelled washer, which is thicker. A replacement bibb screw holds this in nicely.
Another note: packing nut
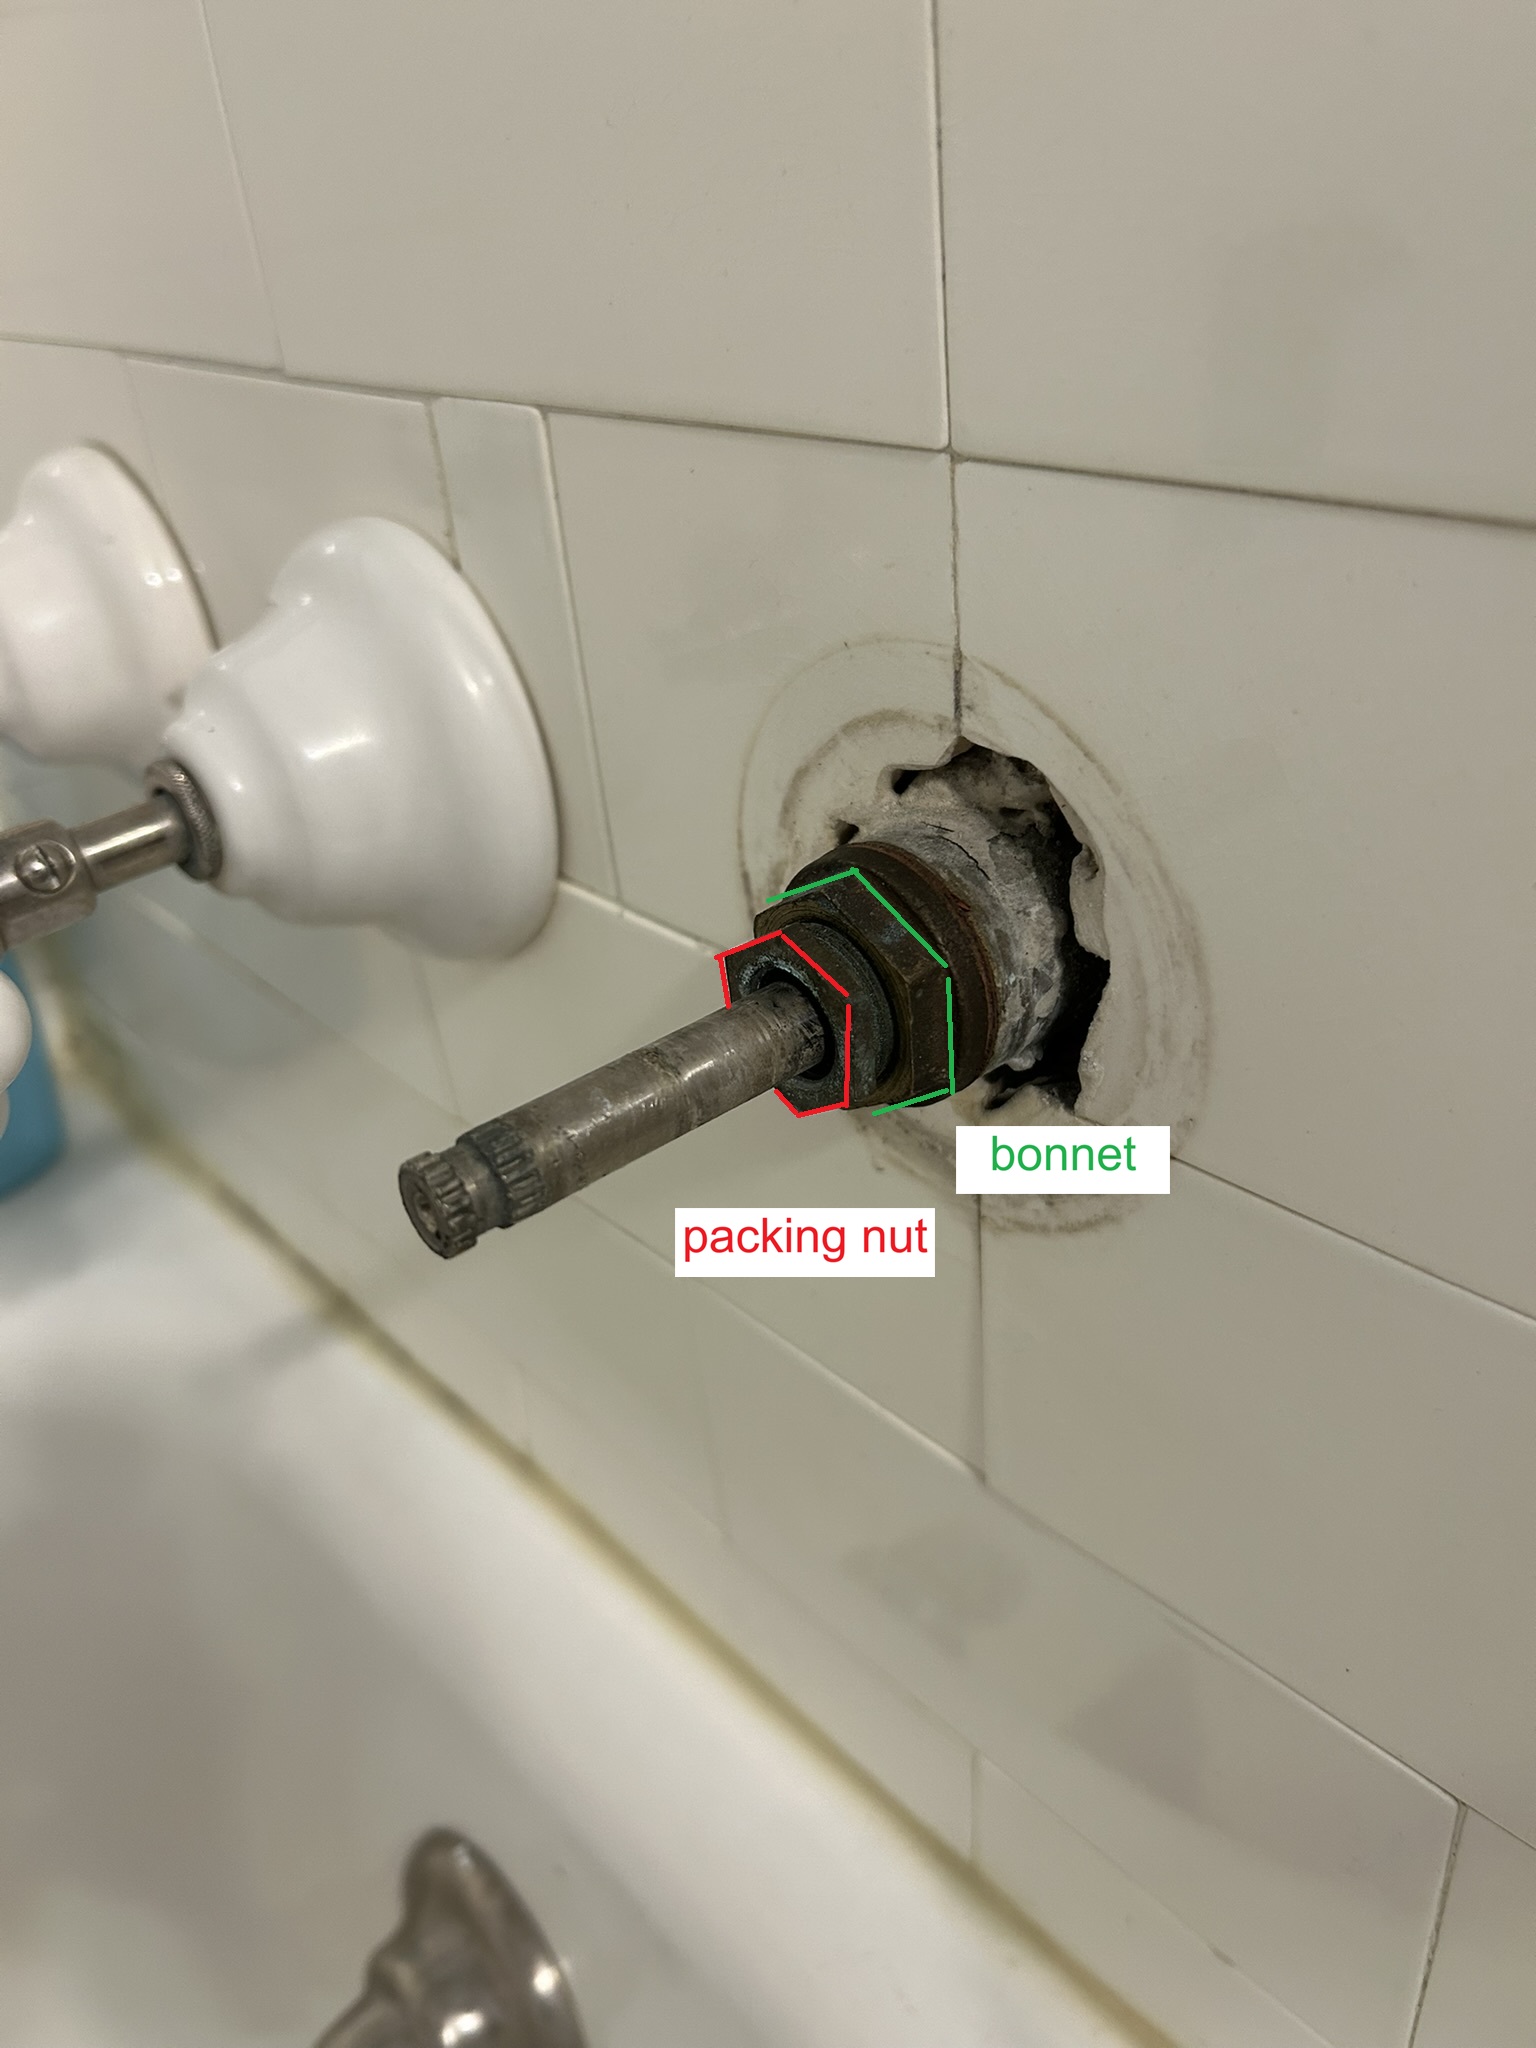
The packing nut is the smaller, front-most hex nut—the one closest to the splined shaft where your handle attaches. Tightening this nut squeezes the internal packing seal against the shaft to stop leaks coming out along the stem.
Another note: slow drain
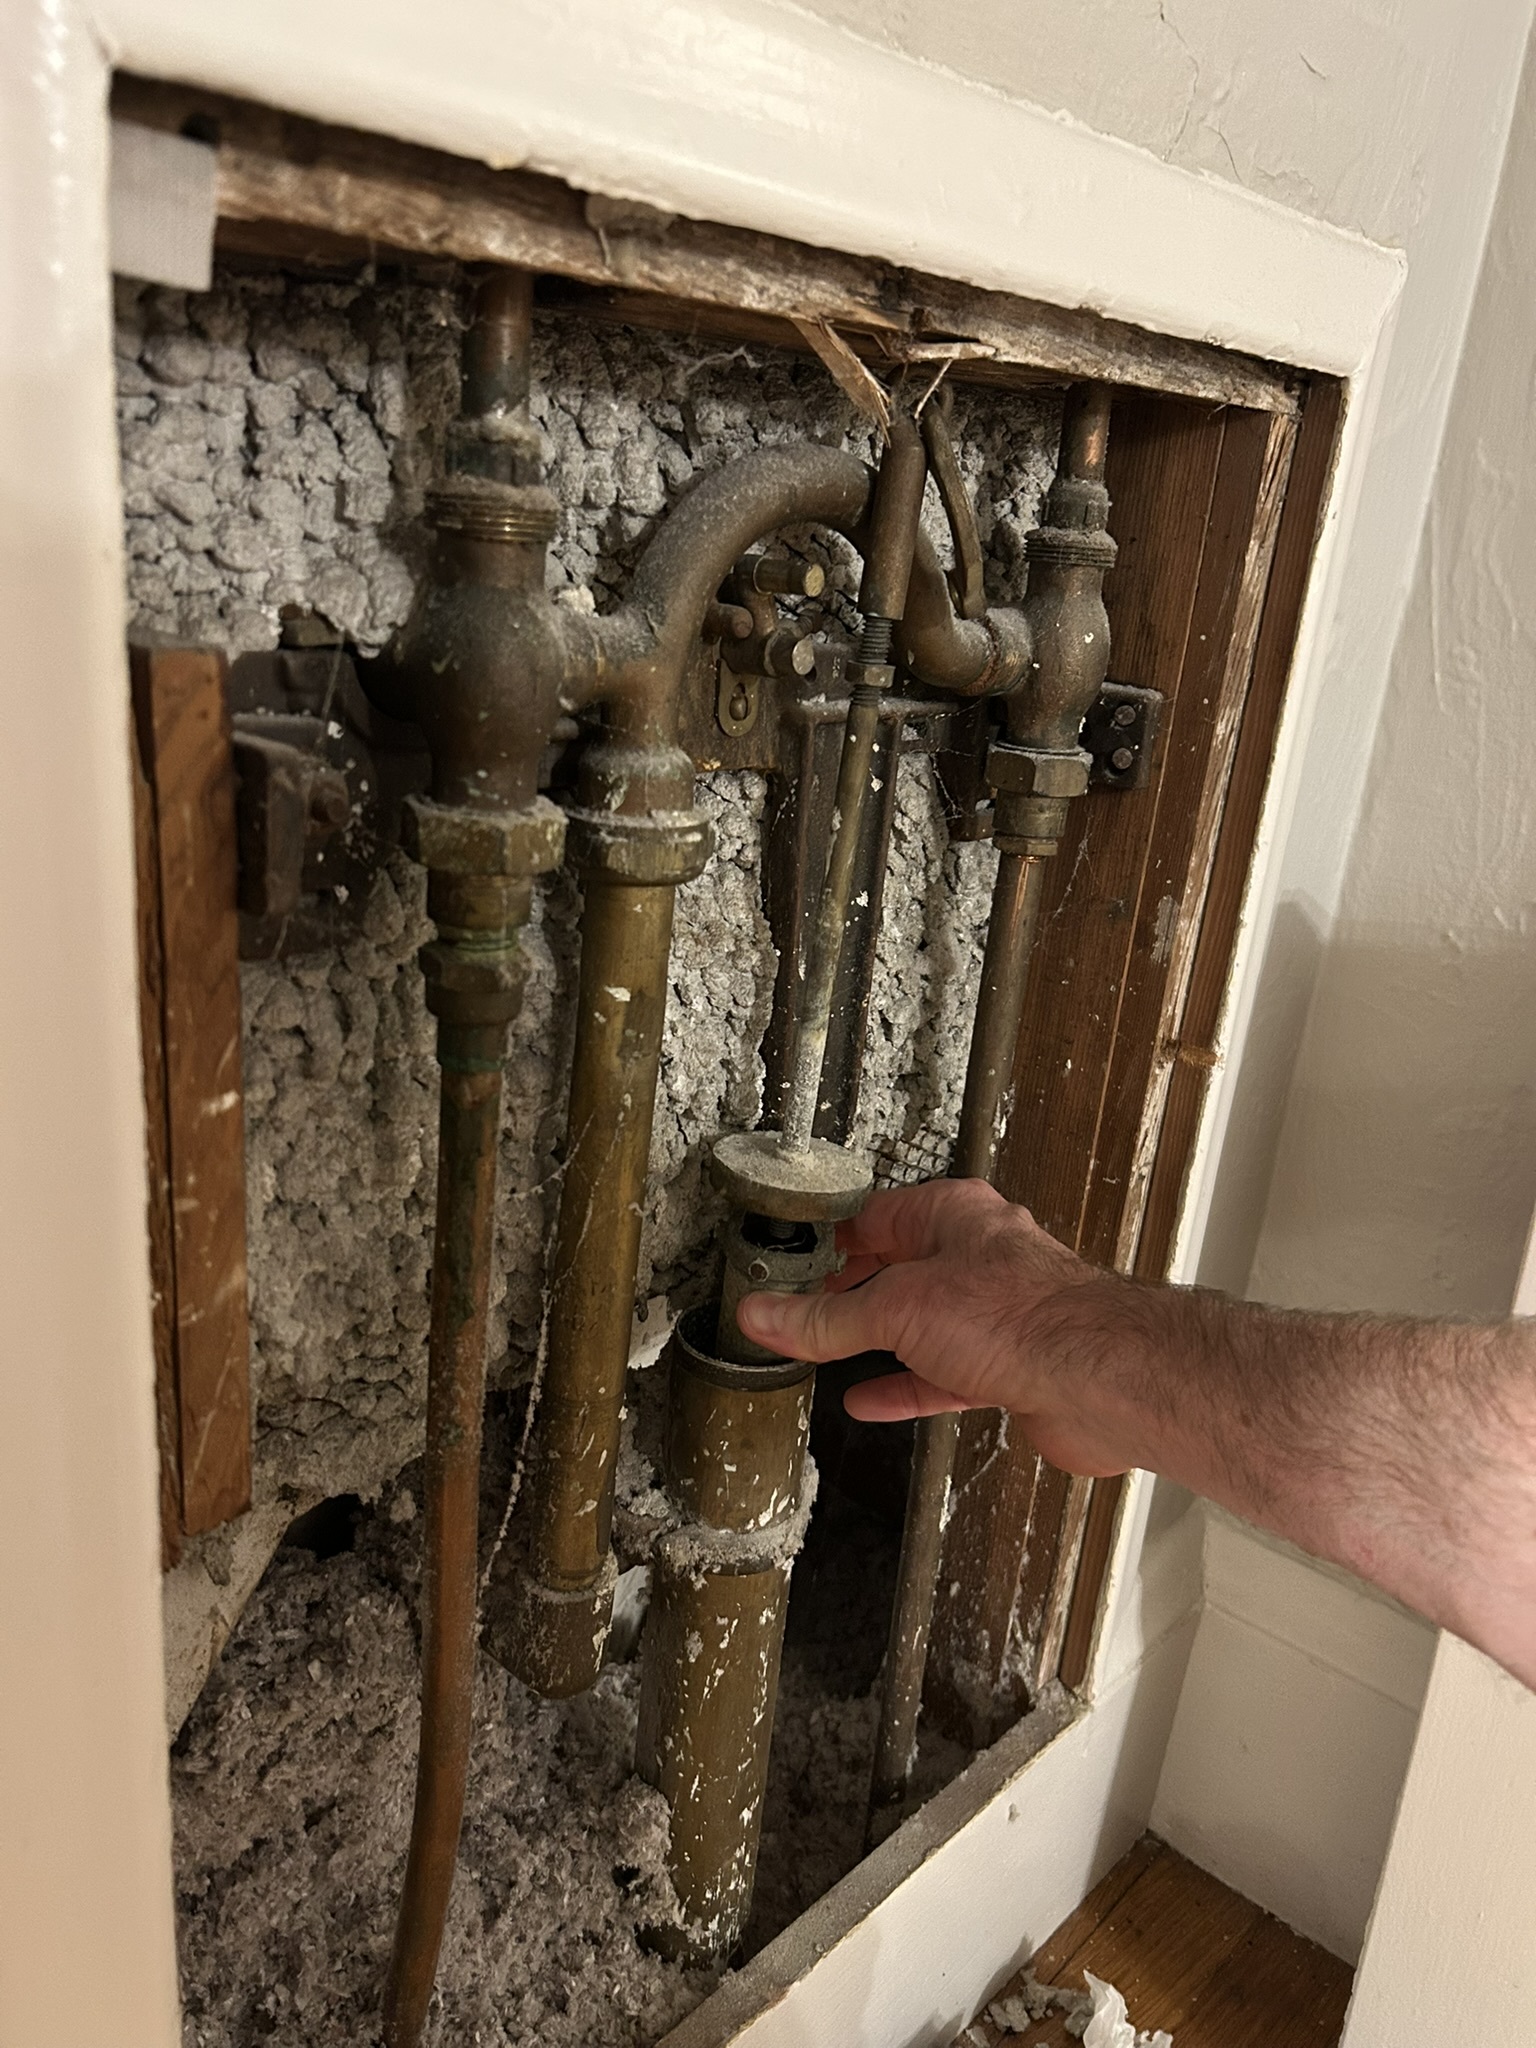
Lastly, this bathtub has never drained very fast. It’s not too slow, but I thought I could speed it up. Long story short, I was able to get some hair and scum from the drain with a thin plastic snake, but it hasnt’ improved much. I was able to confirm the slowness is in the horizontal drain pipe from underneath the bath to the vertical drain pipe right behind the bath in the wall. When I removed the barrel plunger from the cylinder (picture below), I couldnt find any hair or blockage to clear.
Finishing up
Reinstalled the stem with new washer, turned on mains, and faucet works nicely! I did the cold water faucet proactively. The old washer on the cold stem turned out to be a flat washer (looking a hair wider than my standard 1/2” pack, likely an old 1/2L size) that had turned completely stiff since it’s last replacement.
Now, shutting off both hot and cold side feels soft and smooth! Of course, showing my kids how the stem is screwed into the wall was the most satisfying part for me.