Recessed Lights
Notes when replacing my recessed lights
I’ve replaced two recessed lights on the ground floor in the past month, and since pretty much all of them were installed around the same time — about five years ago — I’m expecting more to go. These are notes to my future self because I’d forgotten which breakers and the brand of light I used last time.
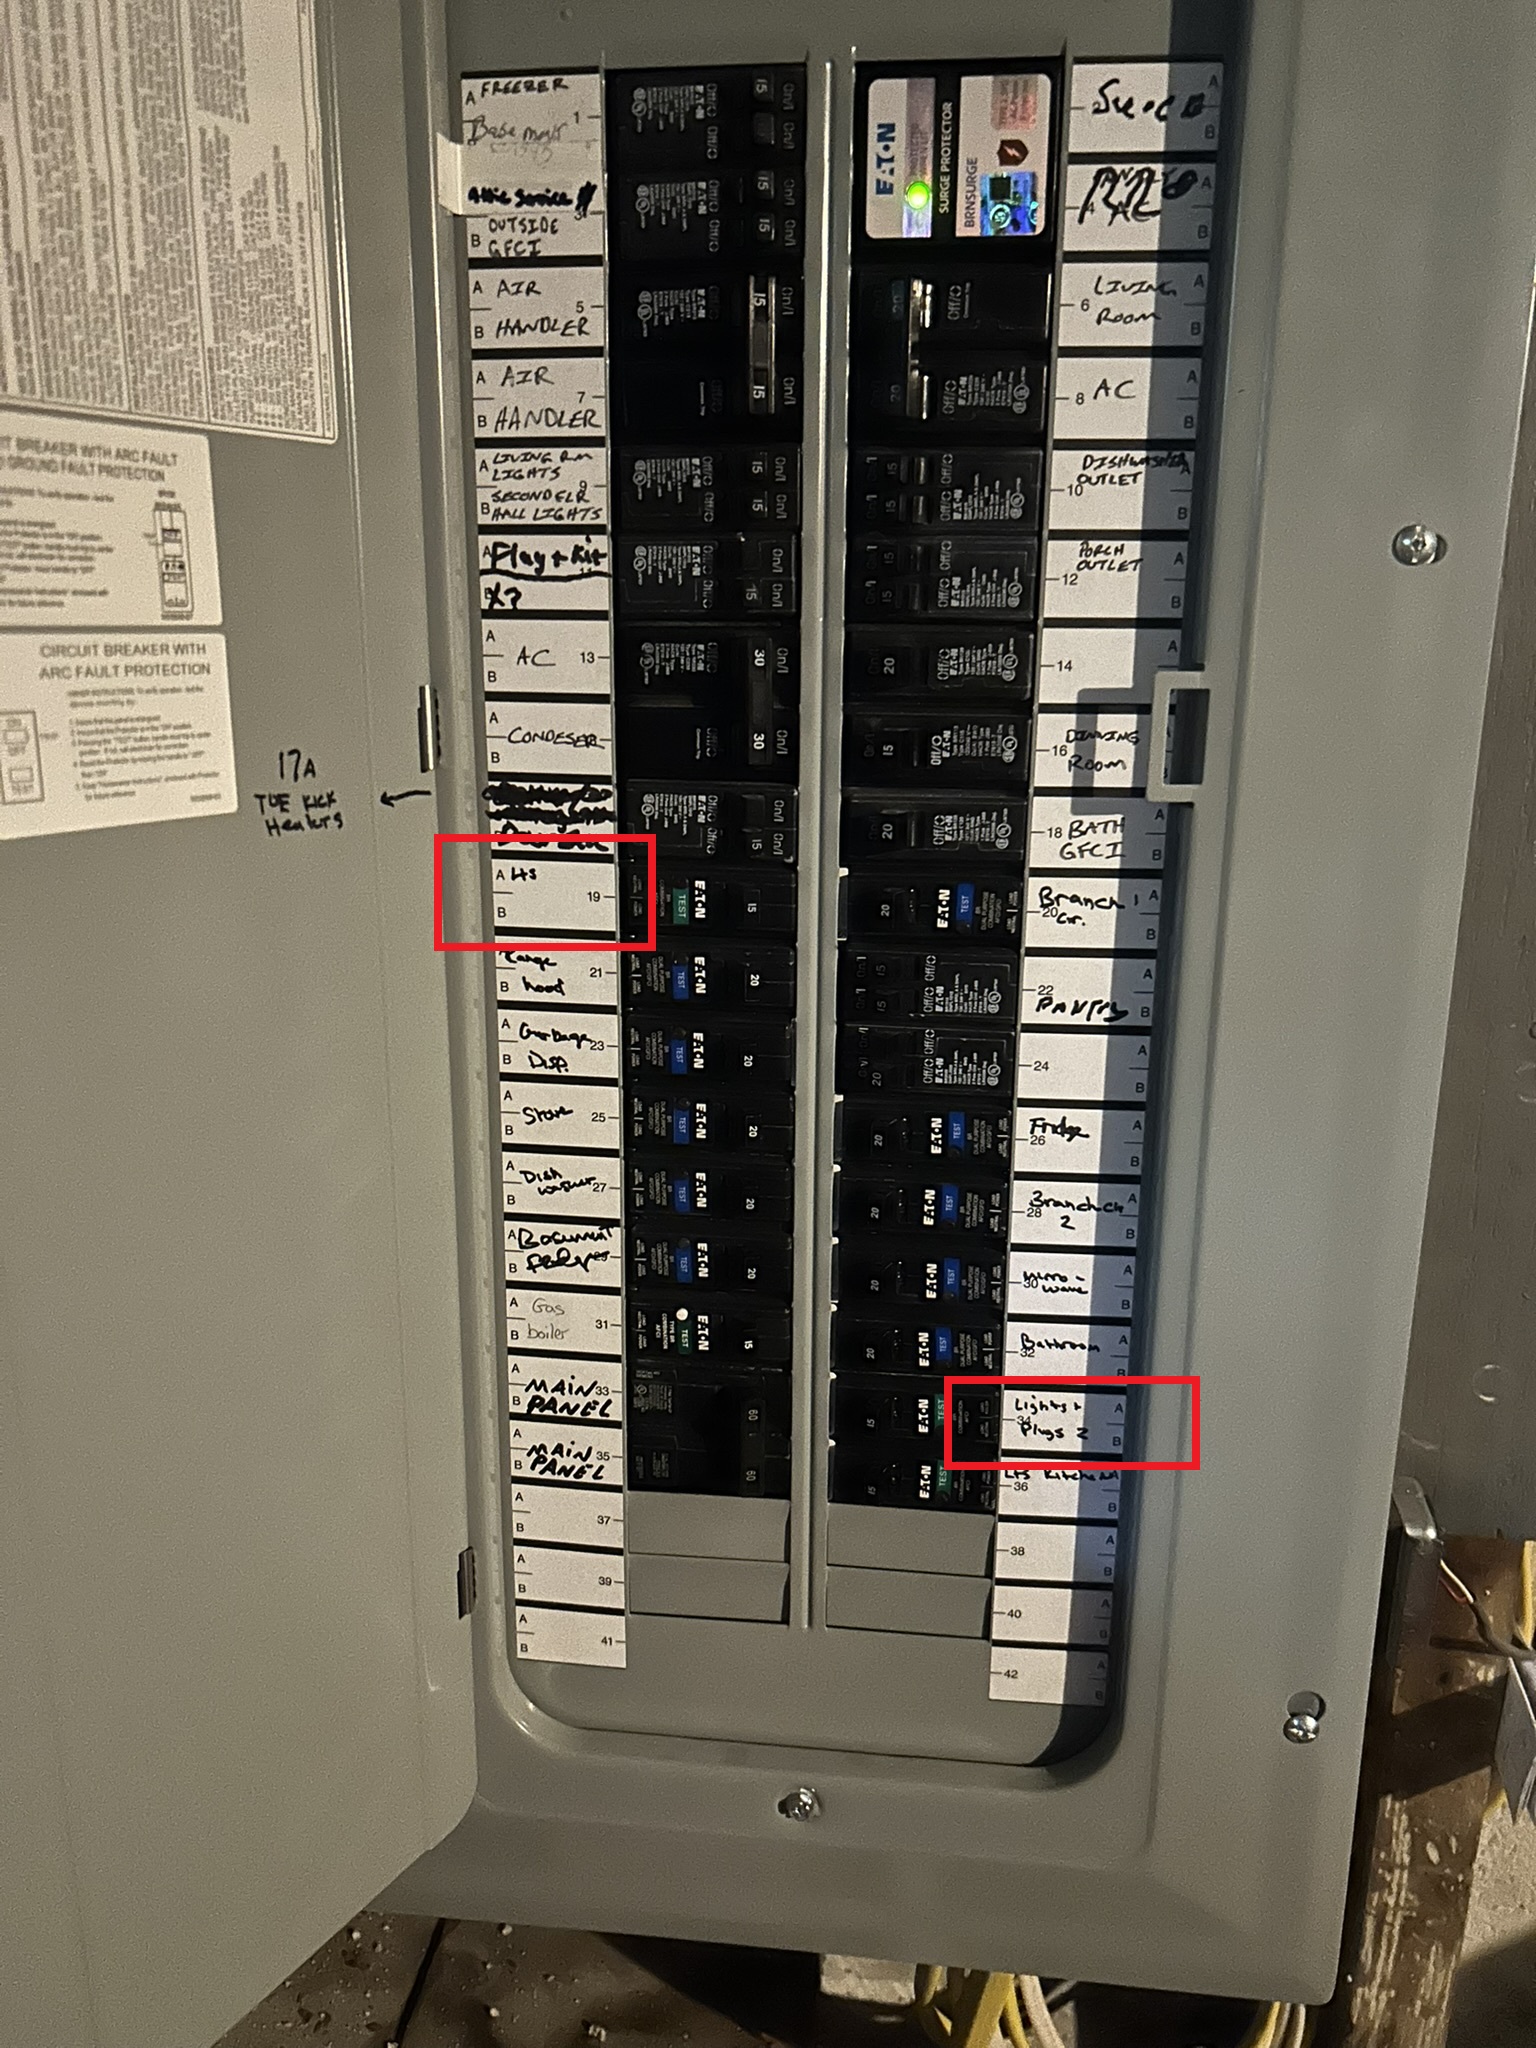
The breaker box
The ground floor lights are split across a few circuits. Before touching anything, flip the right breaker and use a non-contact voltage tester to confirm the power is actually off.
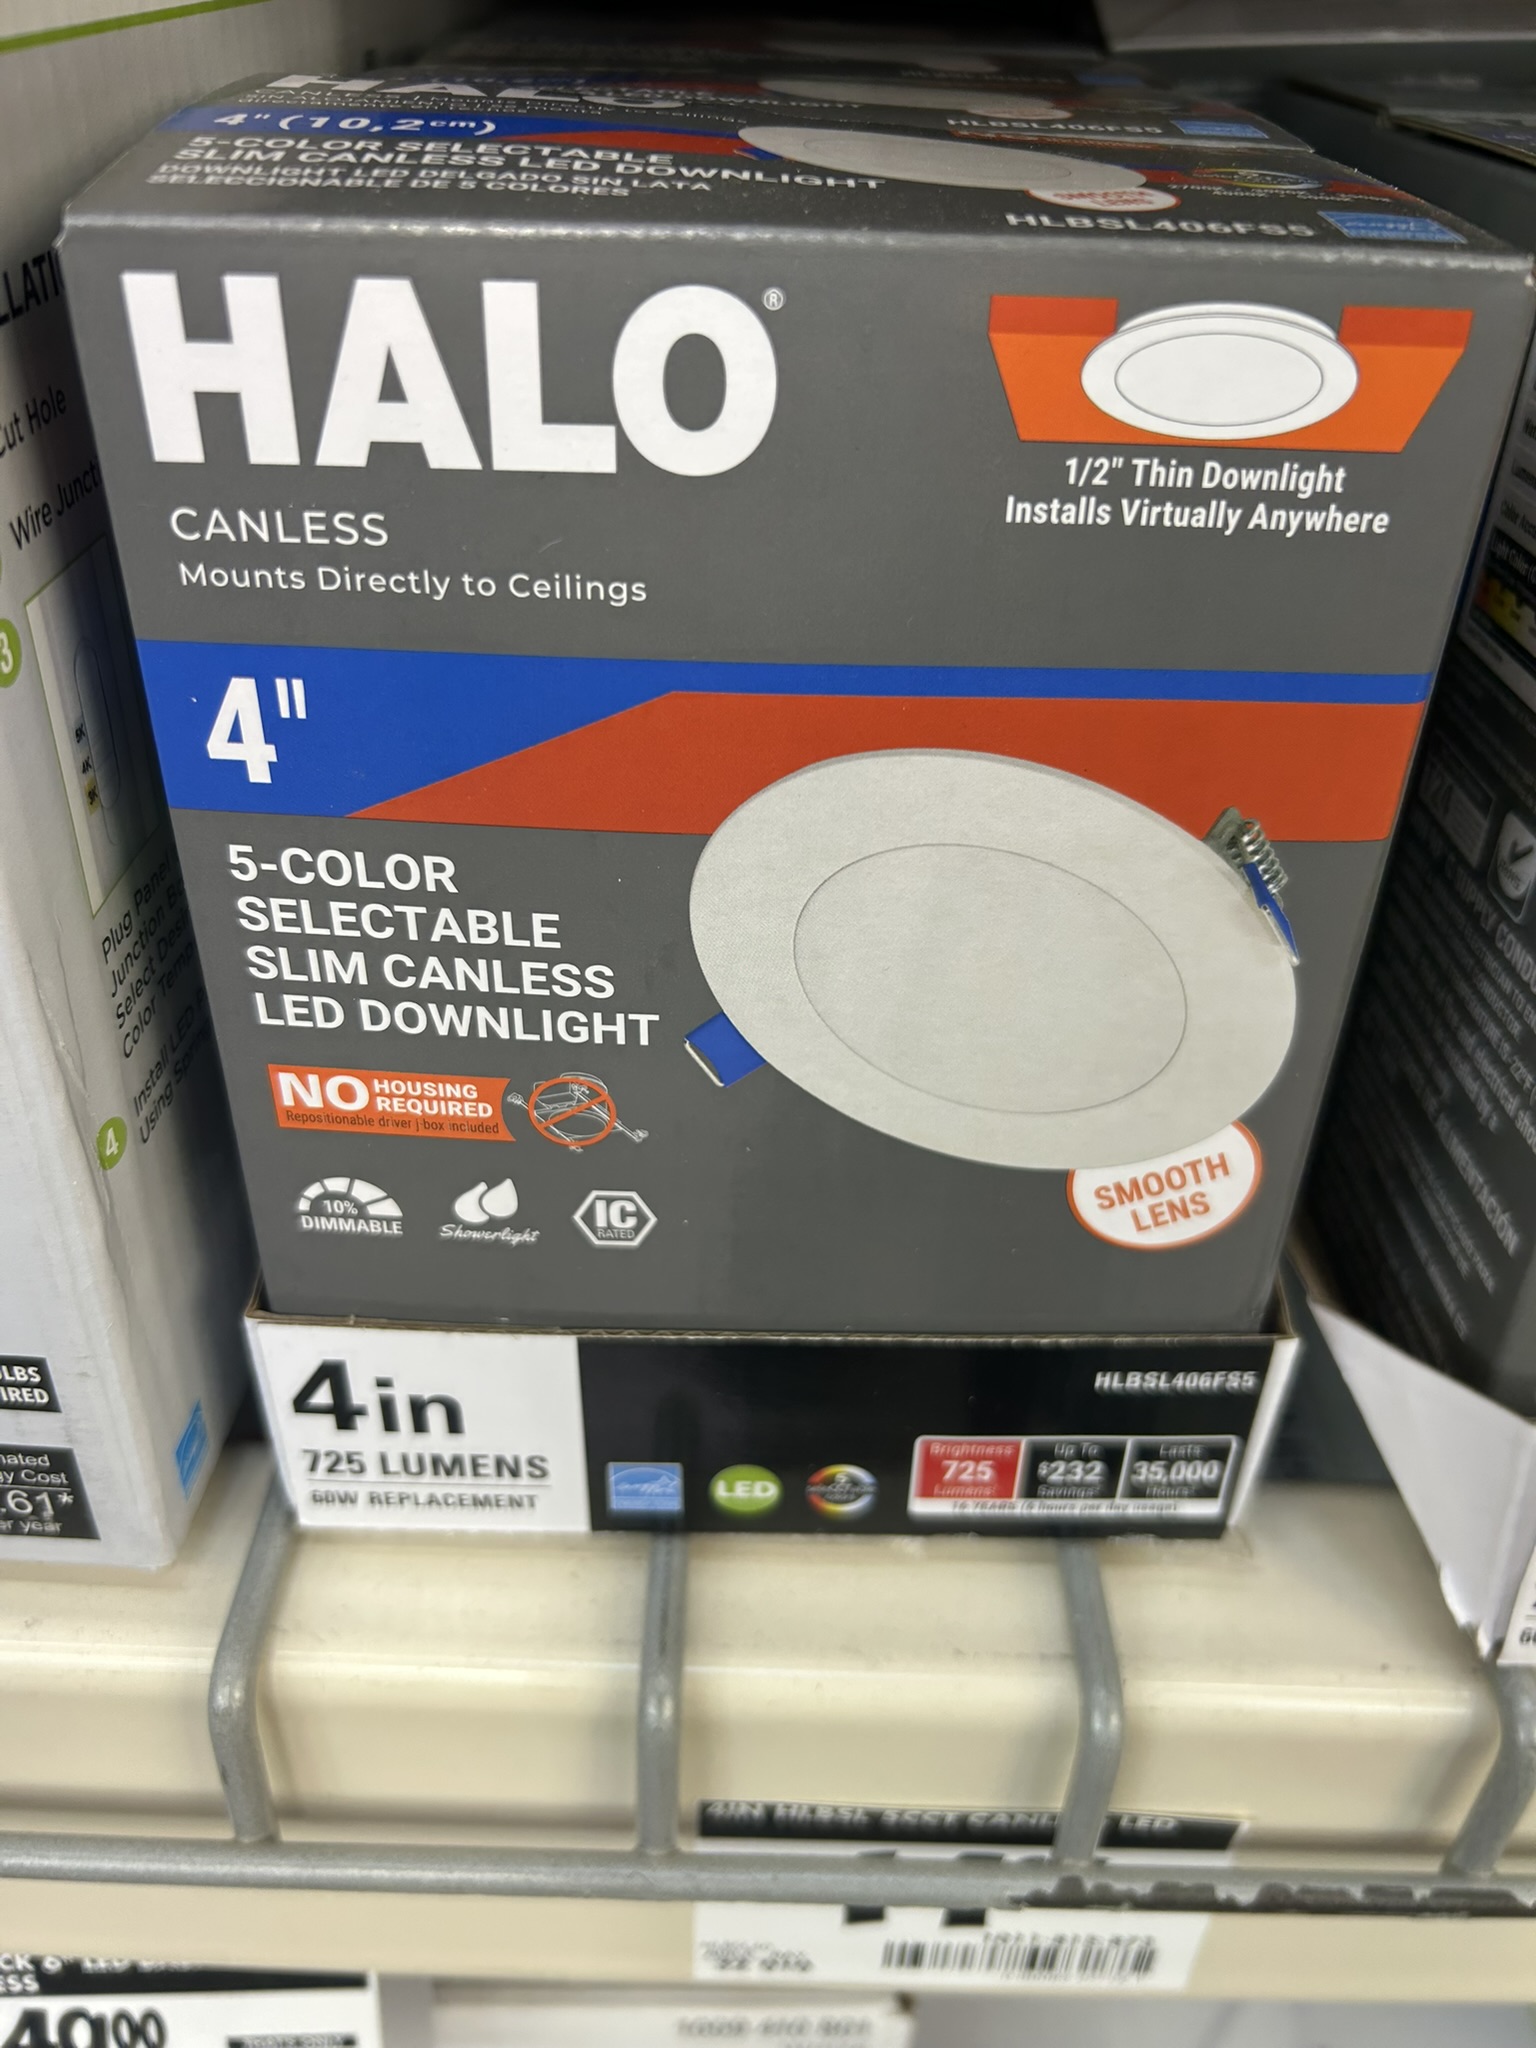
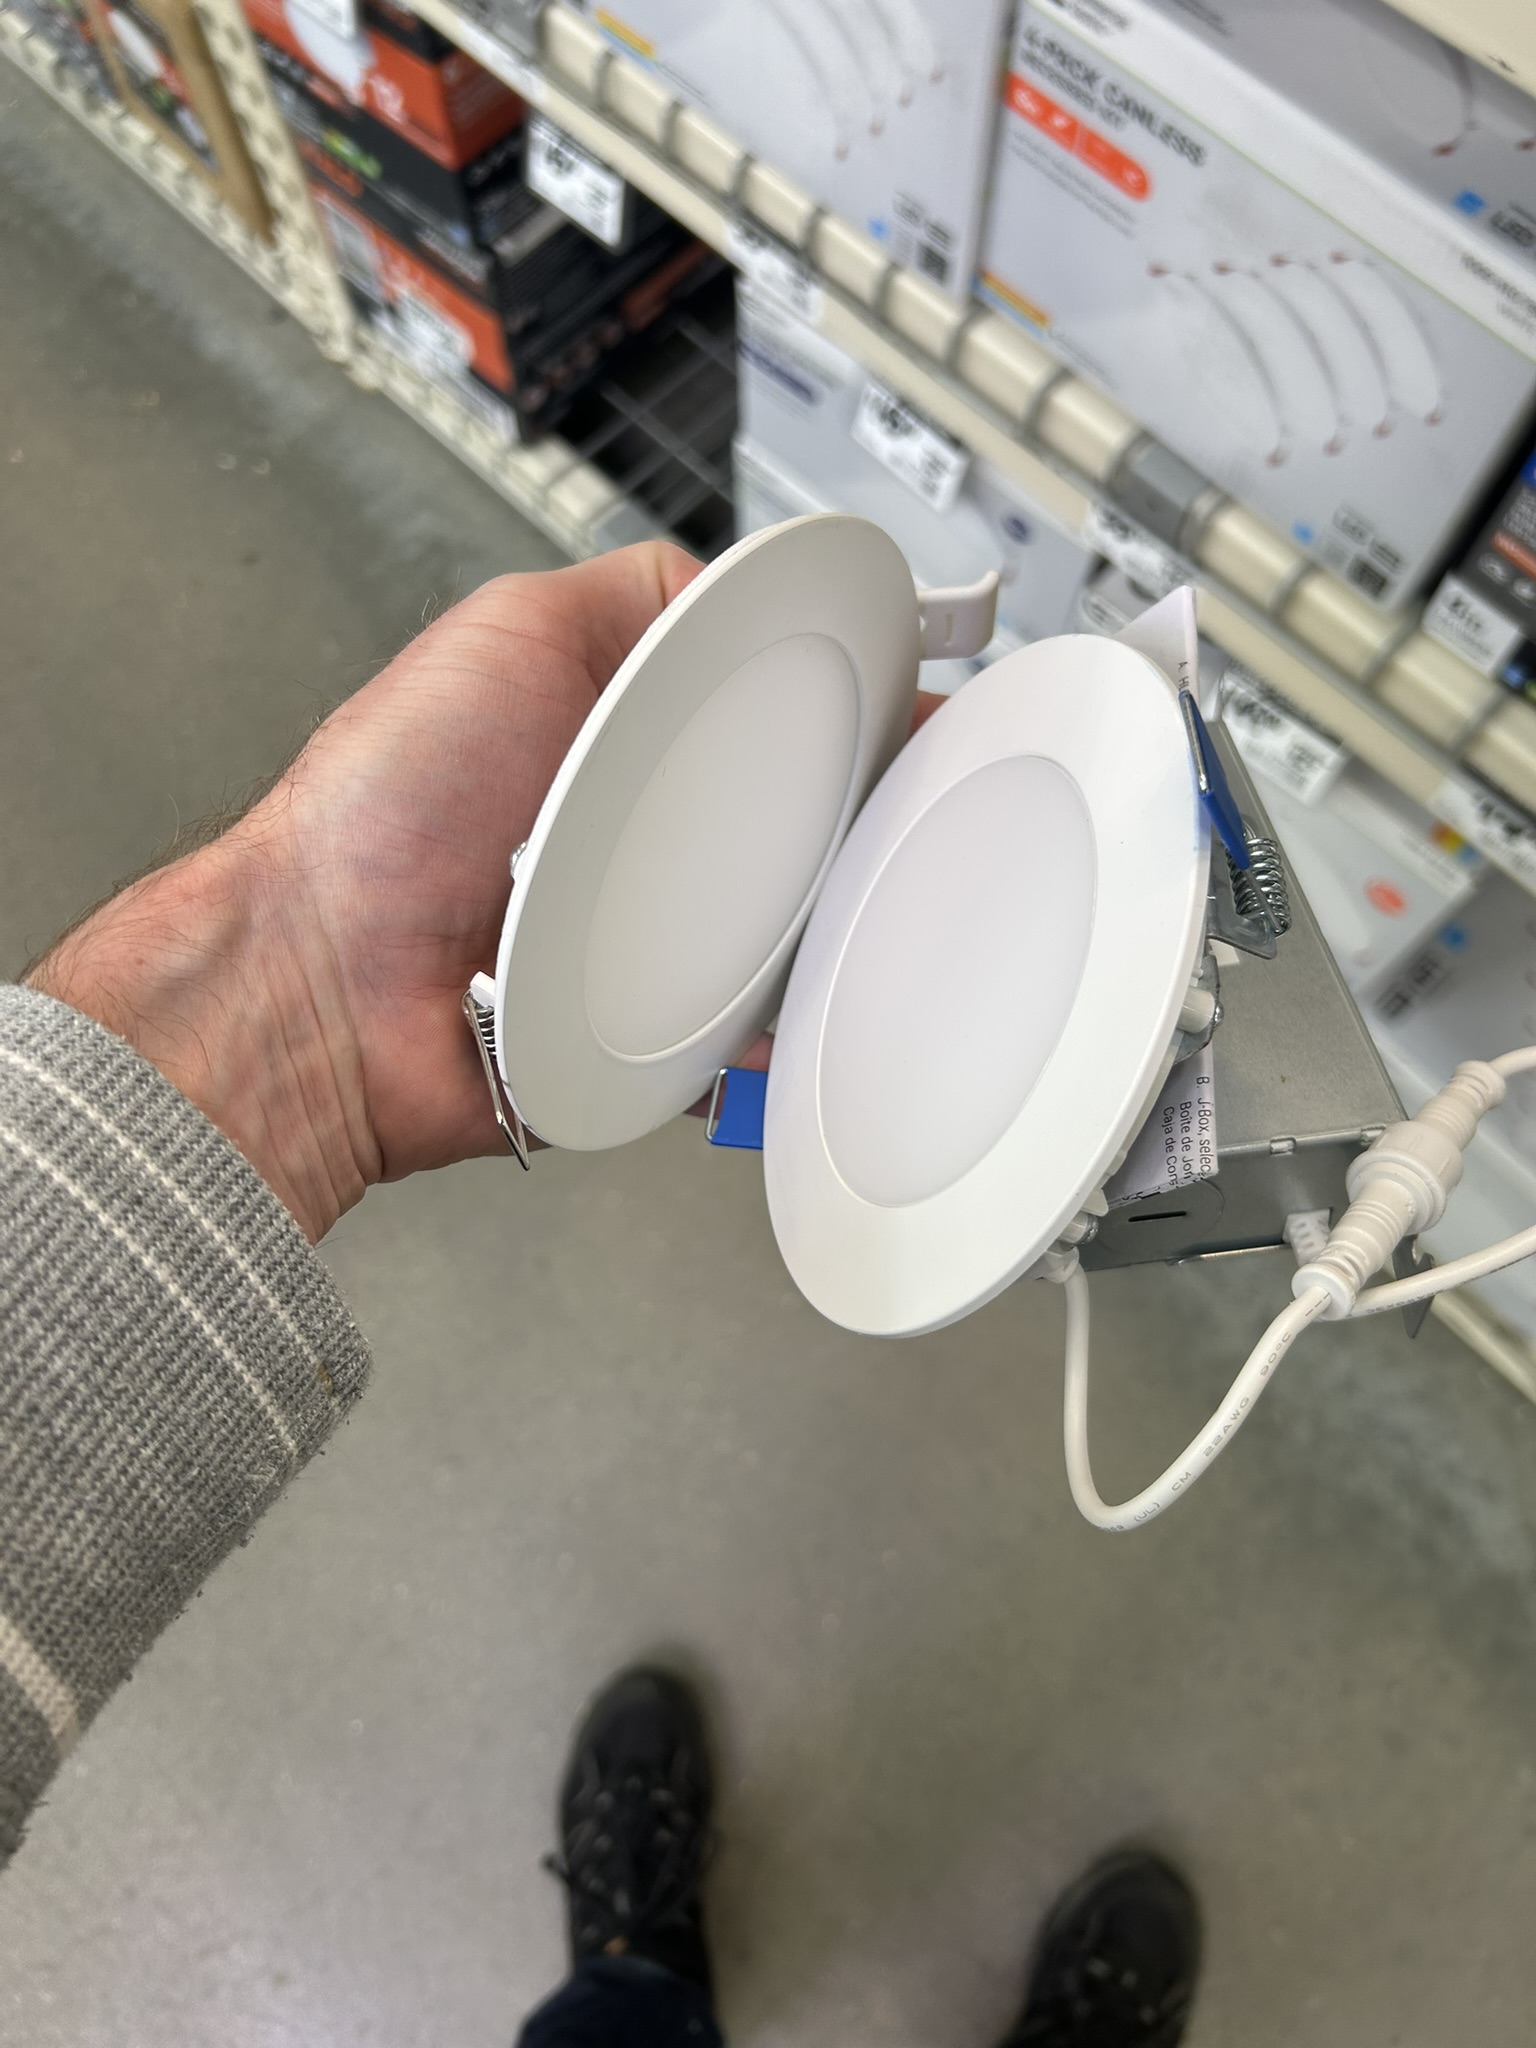
The fixture
This is the replacement I used. Remember:
- canless: these are really flat
- Size: (e.g., 4-inch in my mudroom and pantry but larger in the living room)
- Color temperature: (e.g., 2700K warm white to match the others)
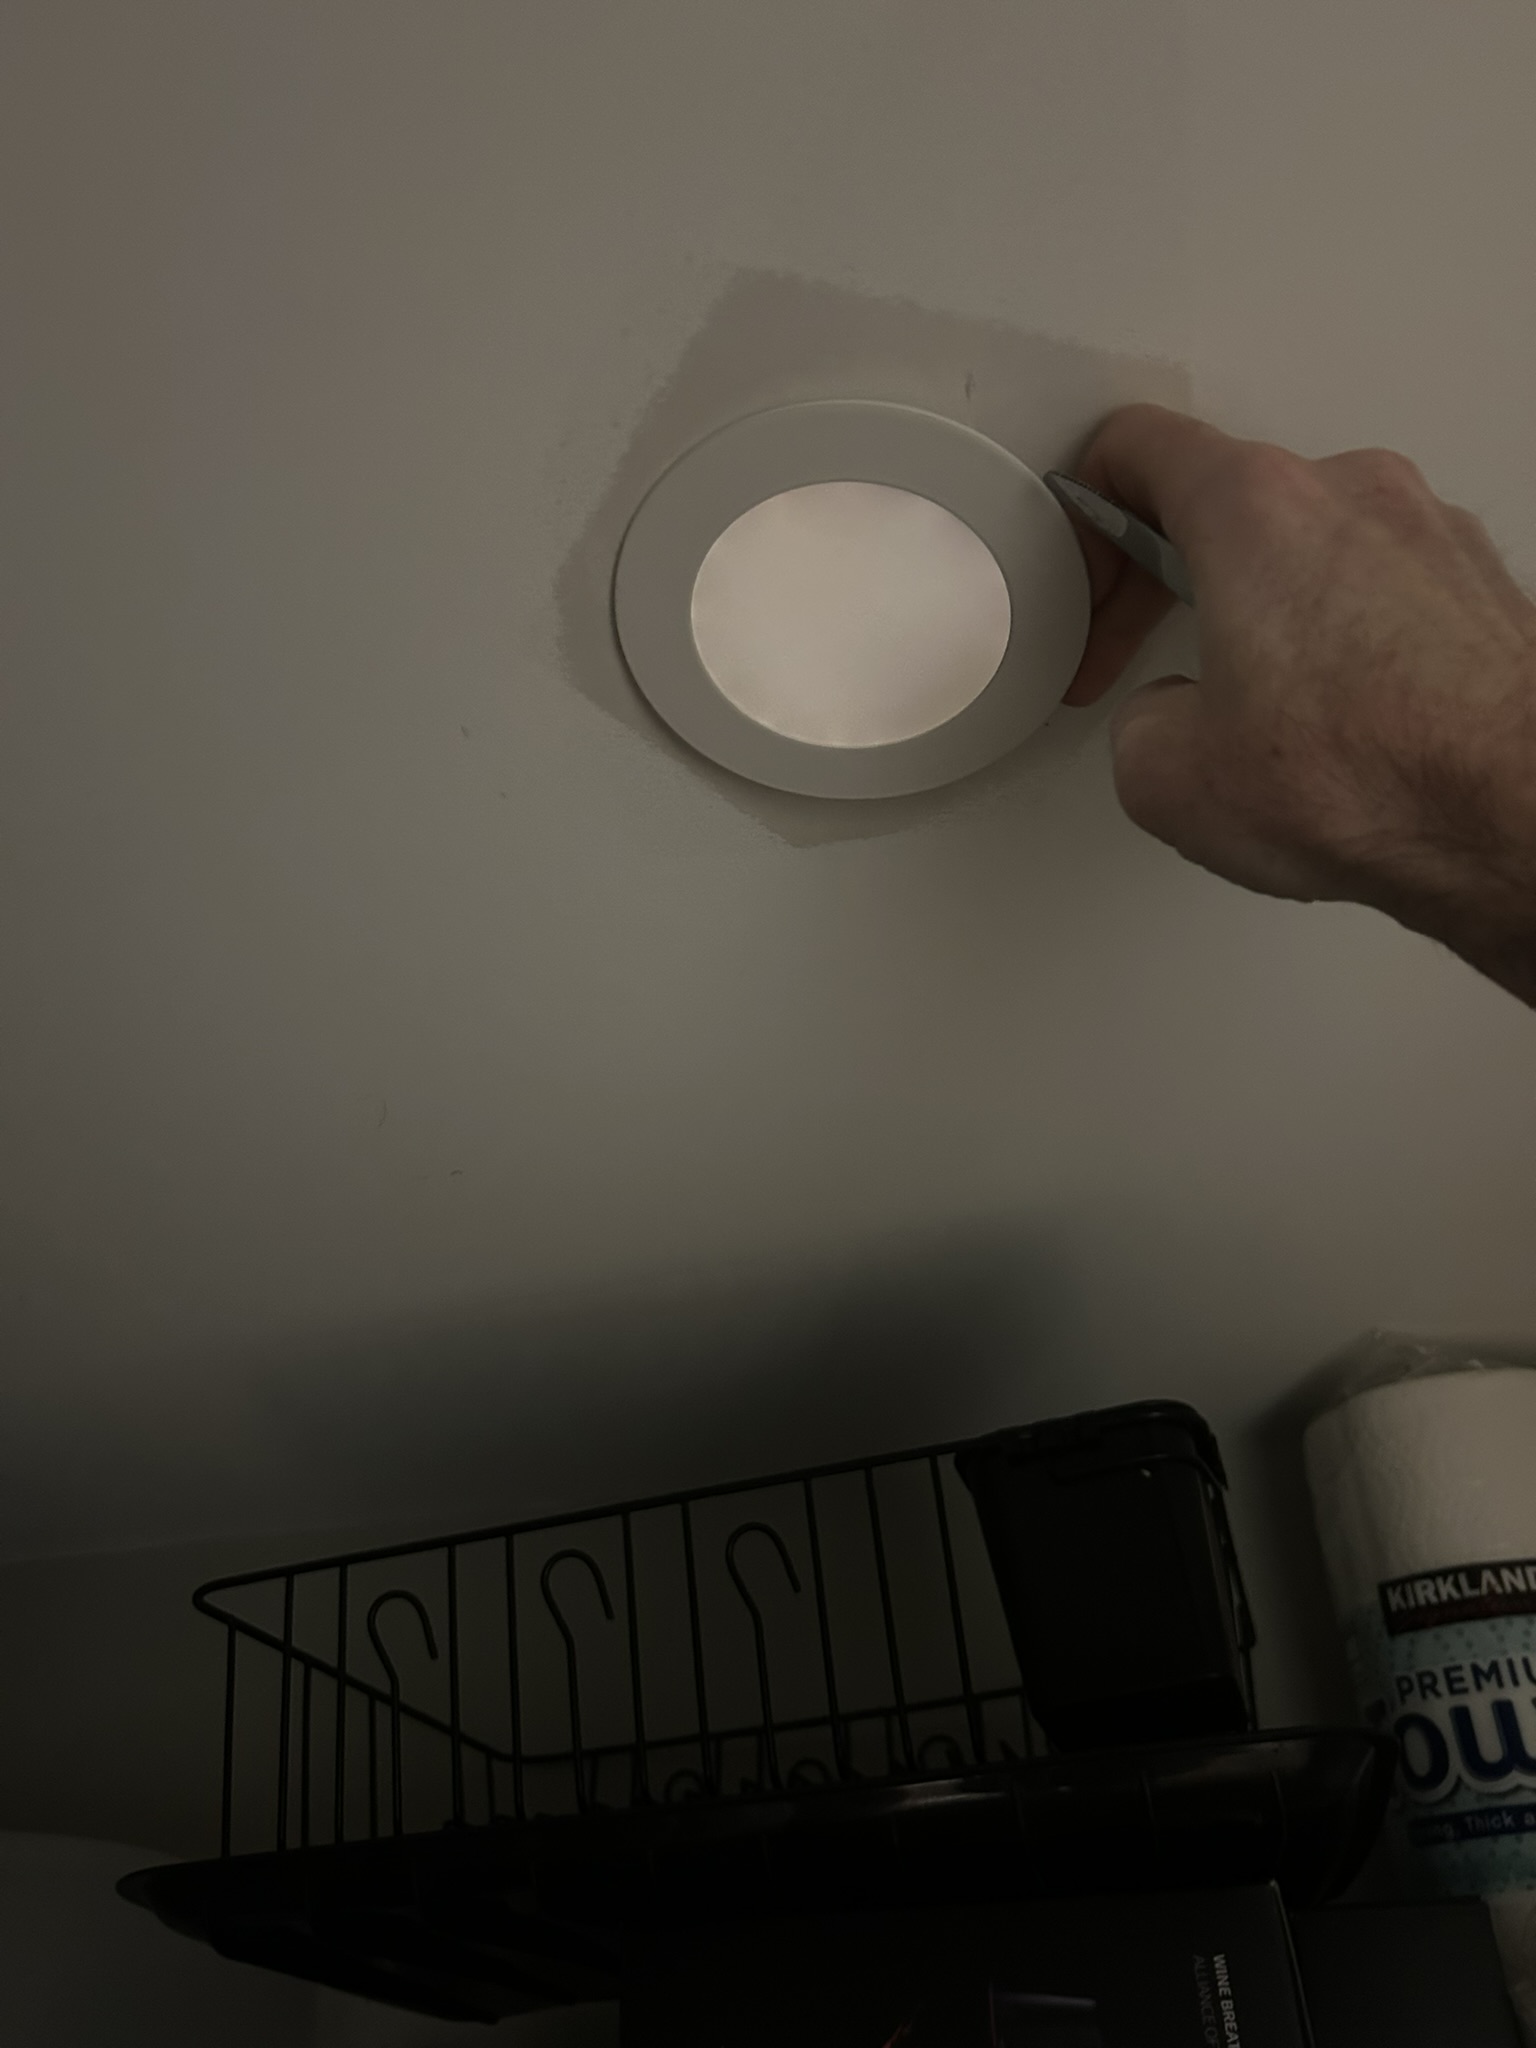
Replacement steps (quick reference)
- Shut off the correct breaker. Verify with voltage tester.
- Pull down the existing trim — it’s usually held by spring clips.
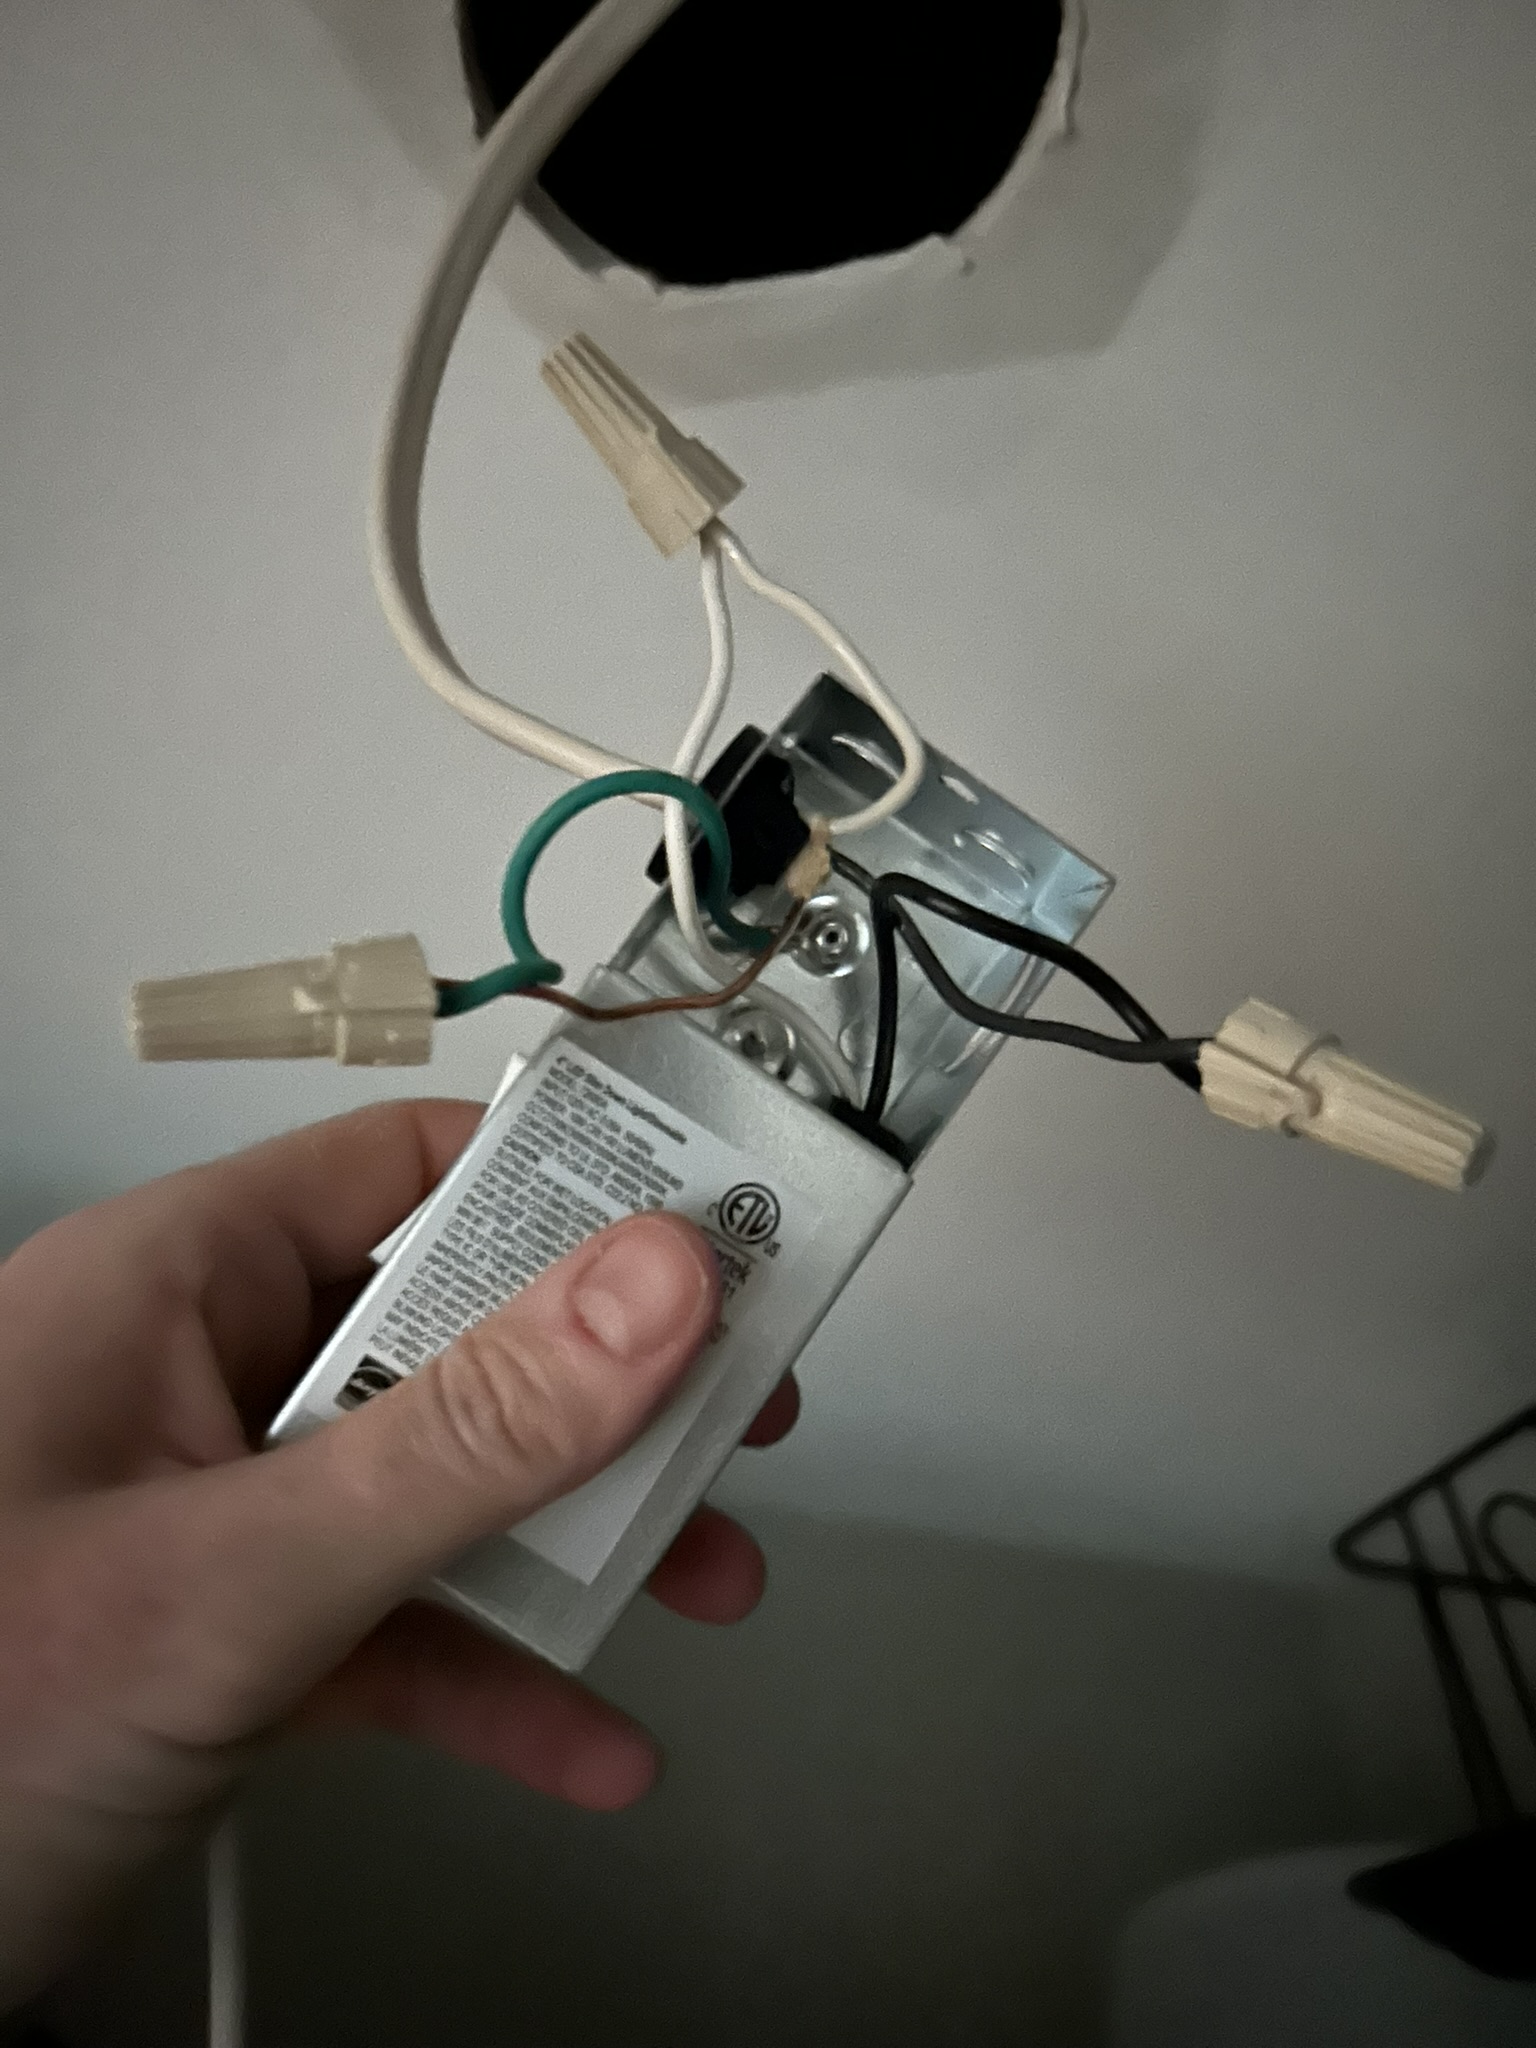
- Disconnect the wires from the existing box.
- Connect the new driver box
- Push the new driver box up into the ceiling.
- Clip the new trim into place.
- Restore power and test.
The whole job takes about 15 minutes once you’ve done it once.
Done